December 21, 2005
Since September, the chassis of the car has been set aside
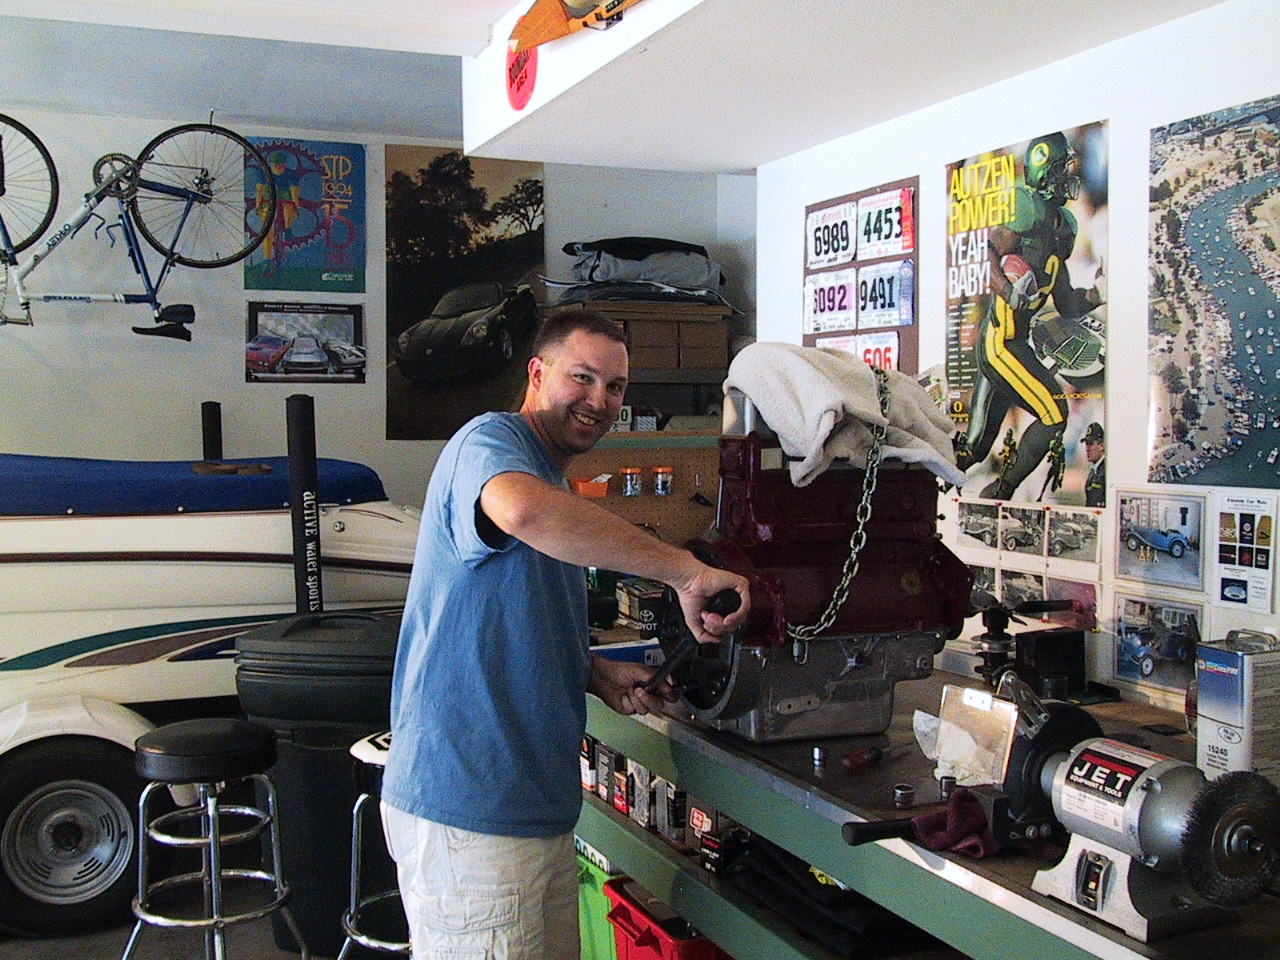
and the engine has been the focal point. The engine
has been torn down, and a great deal of time has been spent
investigating the best direction to take on the
rebuild. During the original rebuild of the engine in
1982, the crank was magnufluxed and a crack was
detected. During the most recent rebuild, the crank
was again magnufluxed and three small cracks were
found. The camshaft was reground to be reused,
but was not to the satisfaction of the engine
rebuilders. Although we had new pistons, they also
were not to the liking of the engine rebuilders. So
after a long few months of investigation, a new crank,
pistons, and camshaft have been purchased.

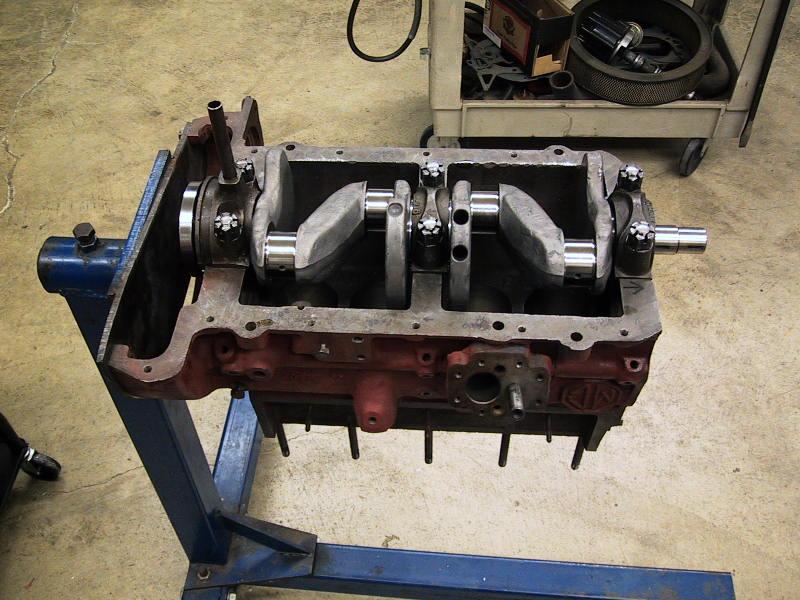
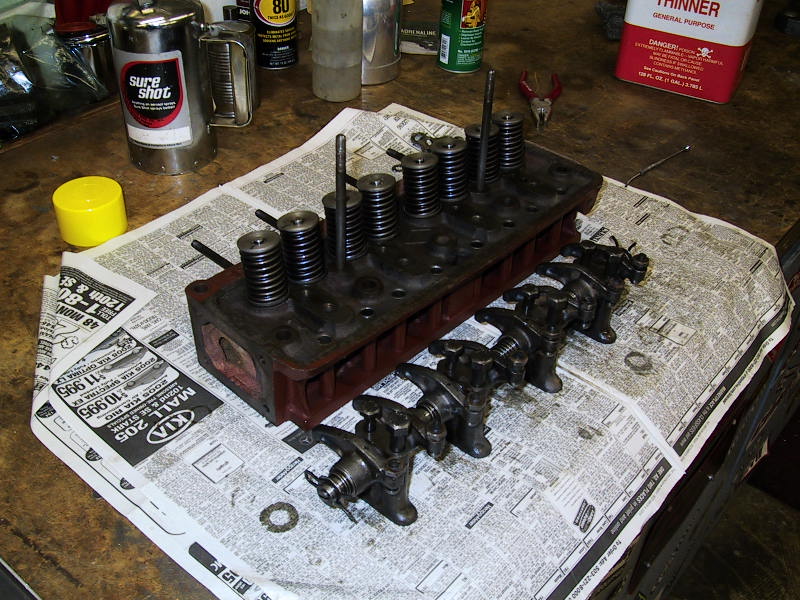
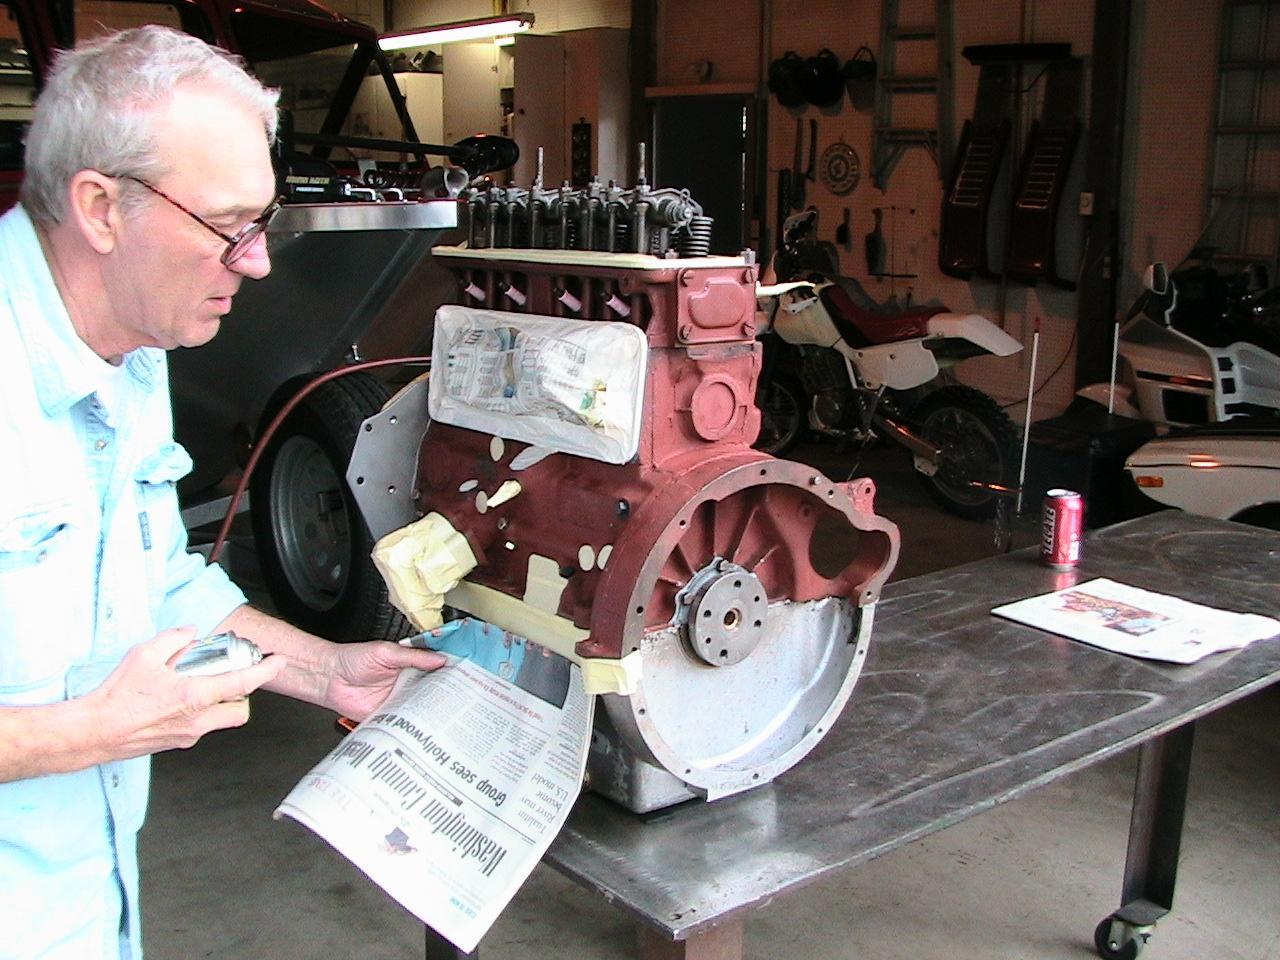
Engine shown before the rebuild.
The original type valve cover was purchased April 24, 2005
at a local swap meet.
January 1, 2006 The
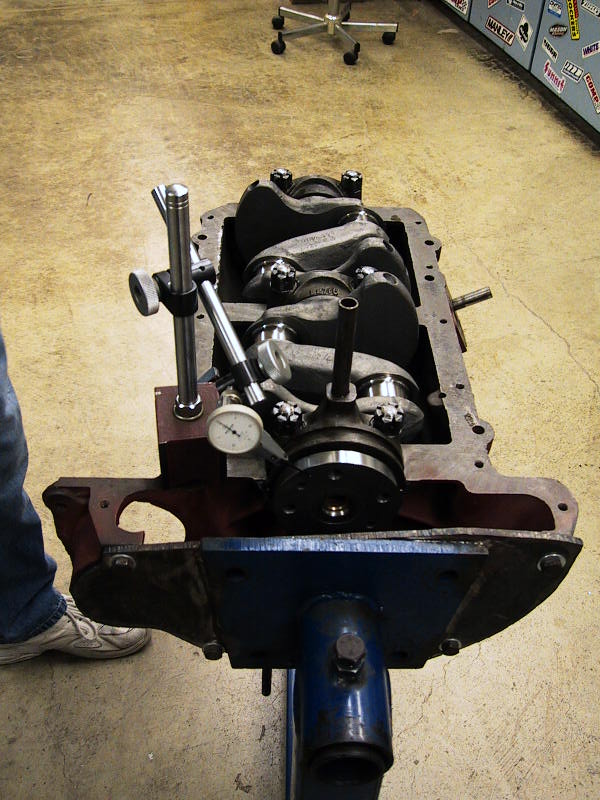
new crank is in place.
The crank has been checked for proper bearing and end play
clearances.
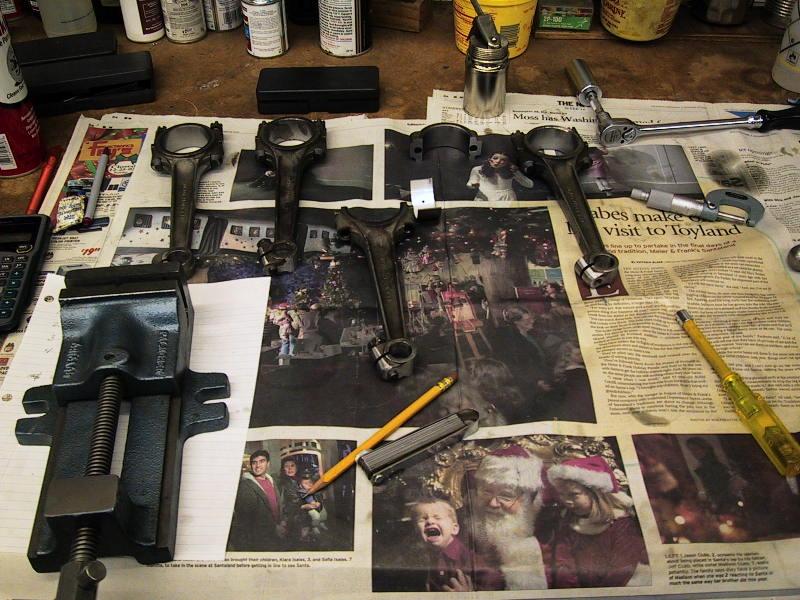
The rods are being fitted with new bearings and being adjusted
for proper clearances.
Above left: New crank in place. Above right: rods before
fitting bearings
Above left: checking crank shaft end play with dial
indicator. Above right: fitting the rod bearings.
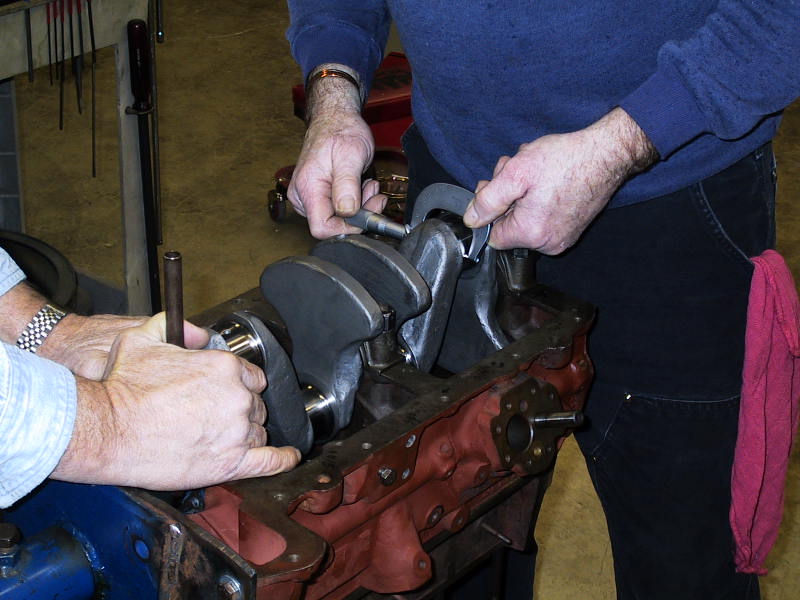
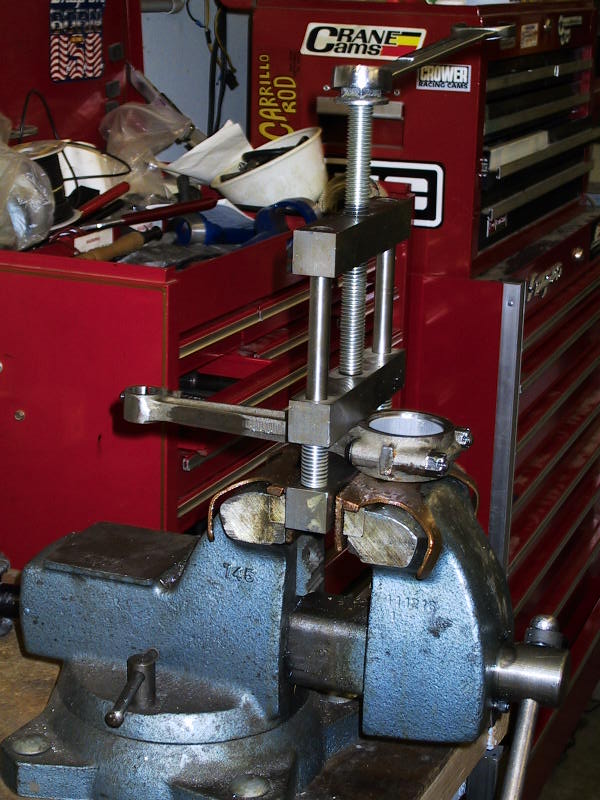
Above left: checking rod throw for sizing rod bearings.
Above right: sanding rods for bearing clearance.
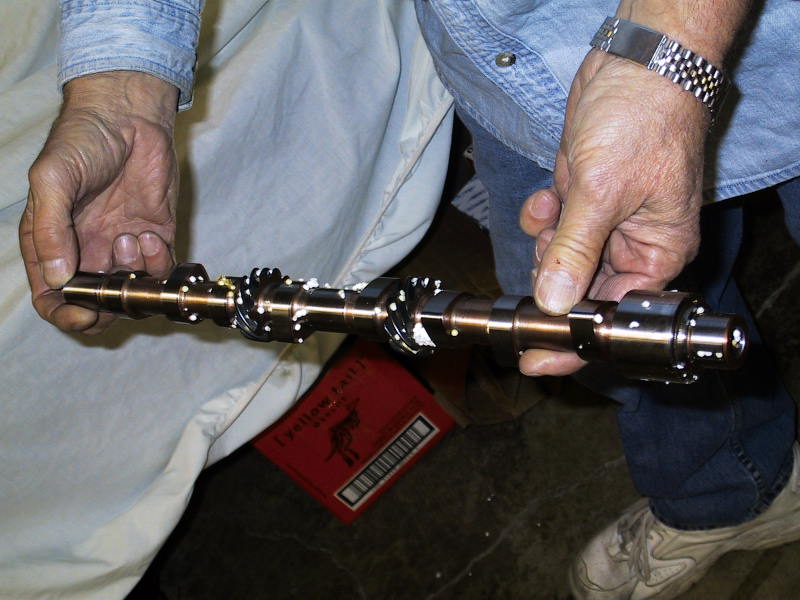
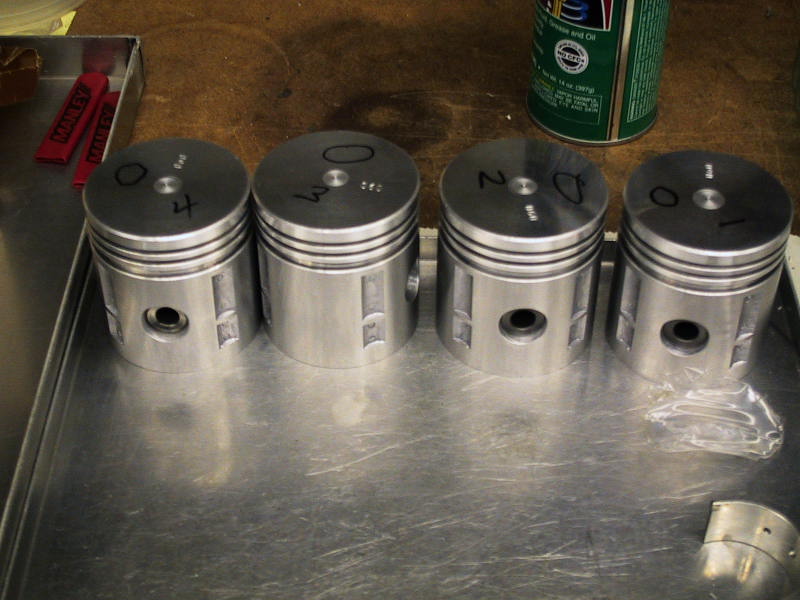 Shown above is the new camshaft
(left) and new piston set(right). The pistons have all
been adjusted to have equal weight.
Shown above is the new camshaft
(left) and new piston set(right). The pistons have all
been adjusted to have equal weight.
On January 9th the crank and rods were balanced.
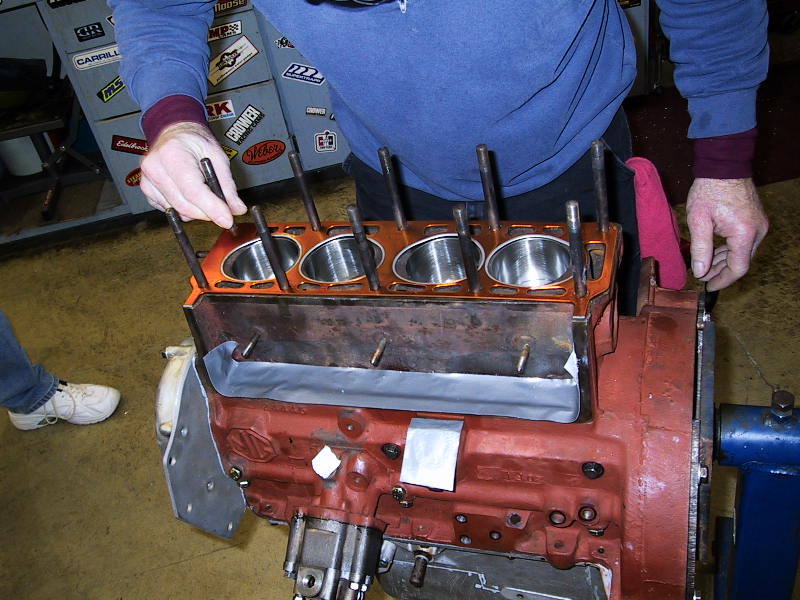
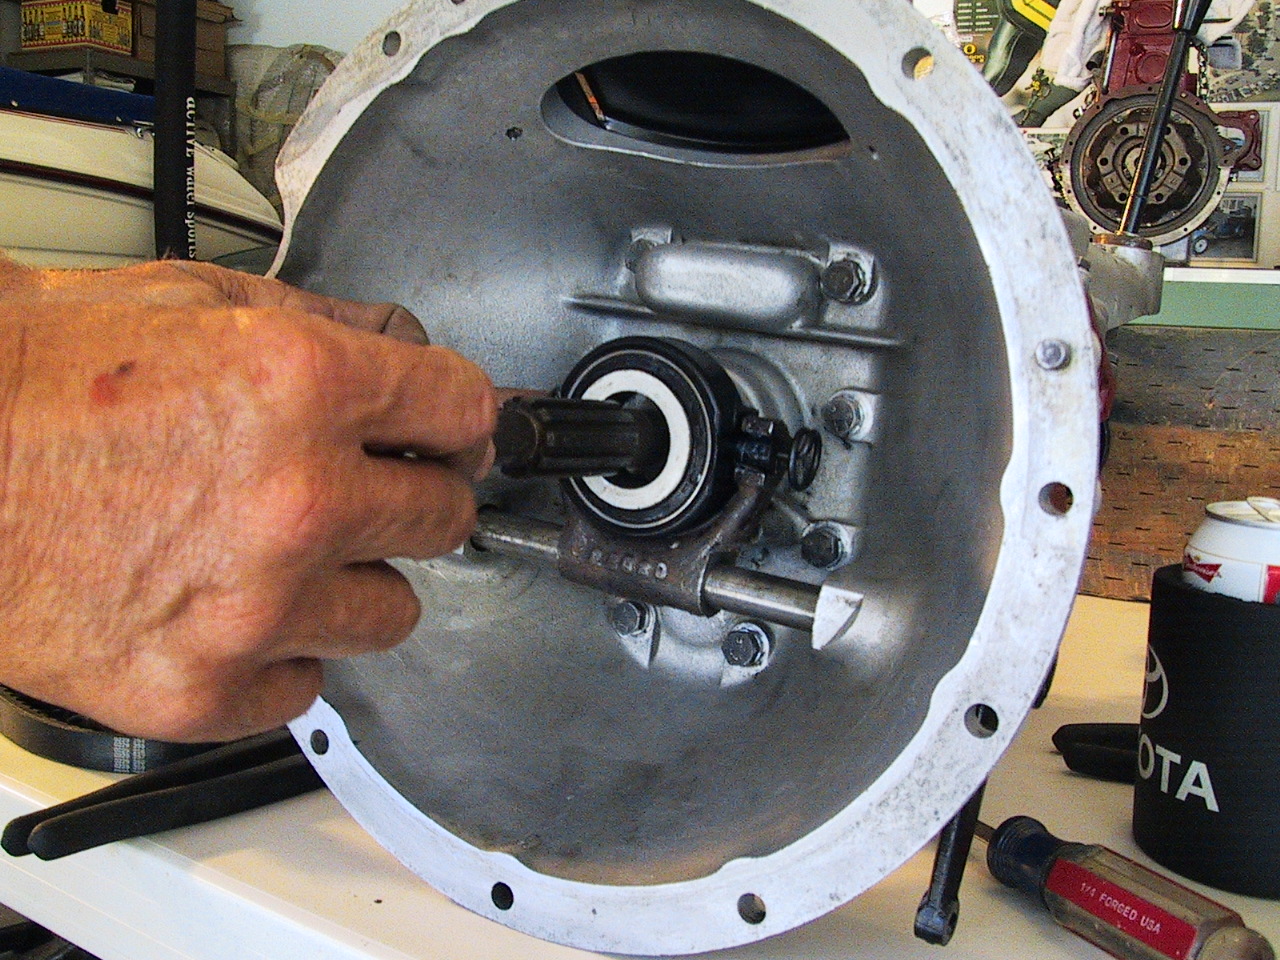
February 17, 2006 The
cam shaft, rods, pistons are now in place. The oil pump
has been rebuilt and installed. The timing chain, cover,
and gears have been fitted (pictures to follow). All
that is left for the engine is some finish work on some
brackets, valve cover, oil canister, tappet cover and other
items for internal engine to be complete.


Above left cam, rods, and pistons in place. Above right
the oil pump in place
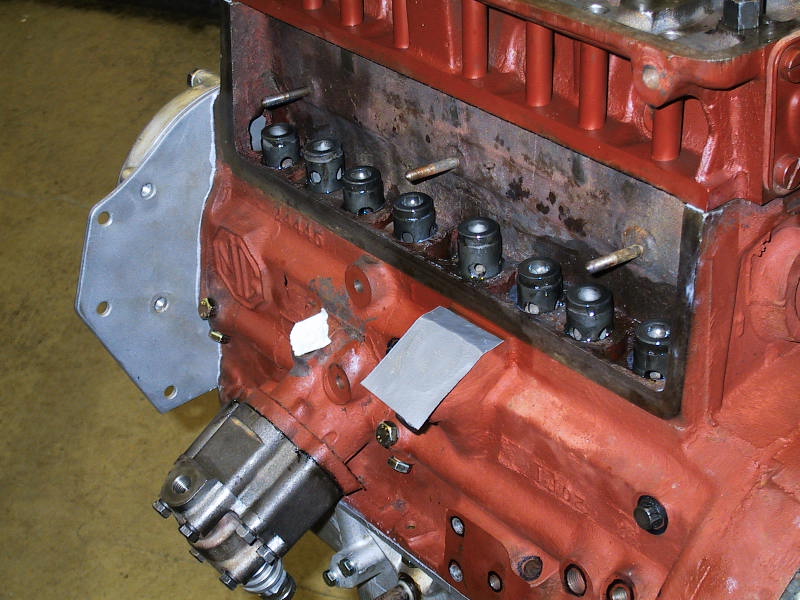
March 6, 2006 The head and rockers are cleaned,
reassembled, and installed with the new head gasket
properly torqued to factory specifications. The
lifters are in place awaiting the push rod set.
Above left the head and rockers cleaned and assembled await
install. Above right the head gasket in place.
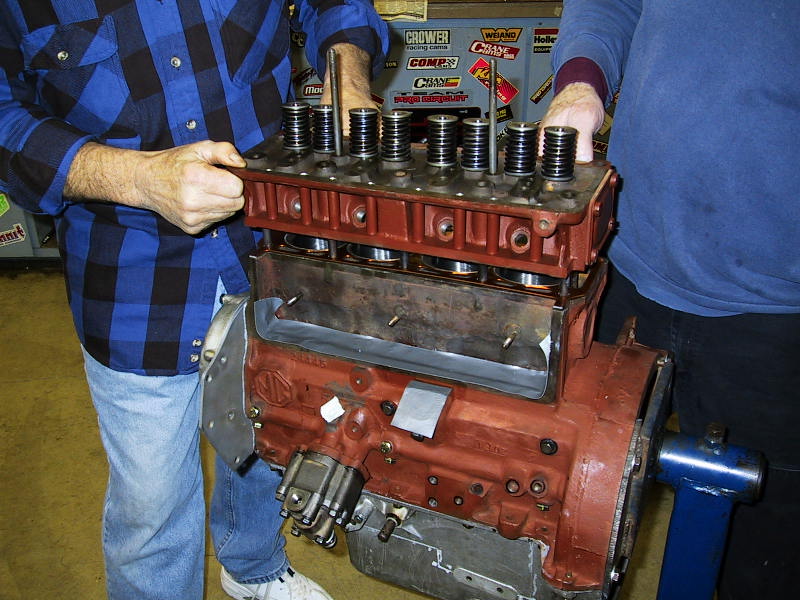
Above left the head being installed to the engine block.
Above right the lifters in place.
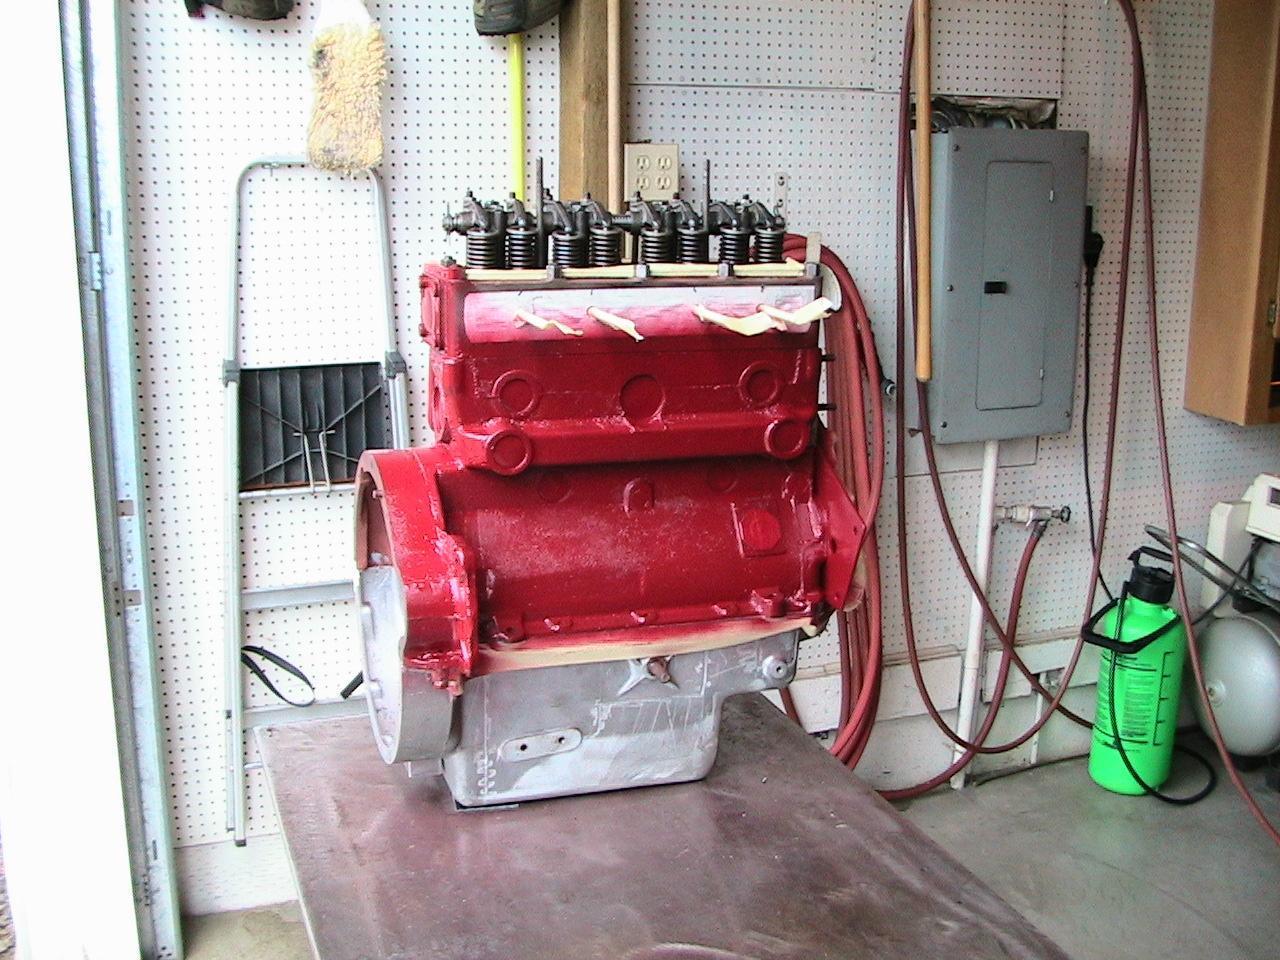
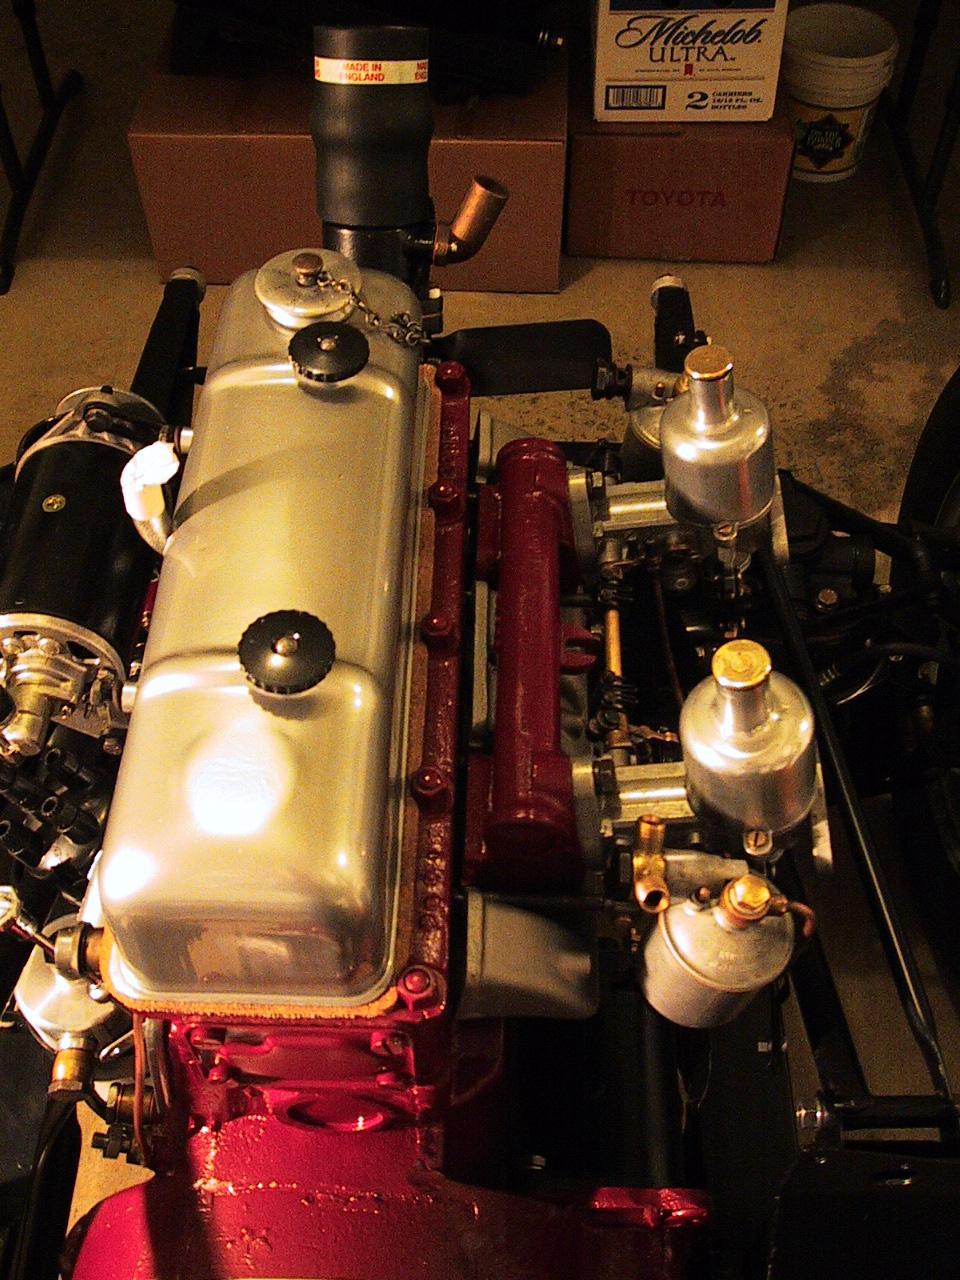
March 26, 2006 The Engine is painted original factory
red. Other components such as the valve cover,
tappet cover, distributor, thermostat, oil canister
brackets are installed.
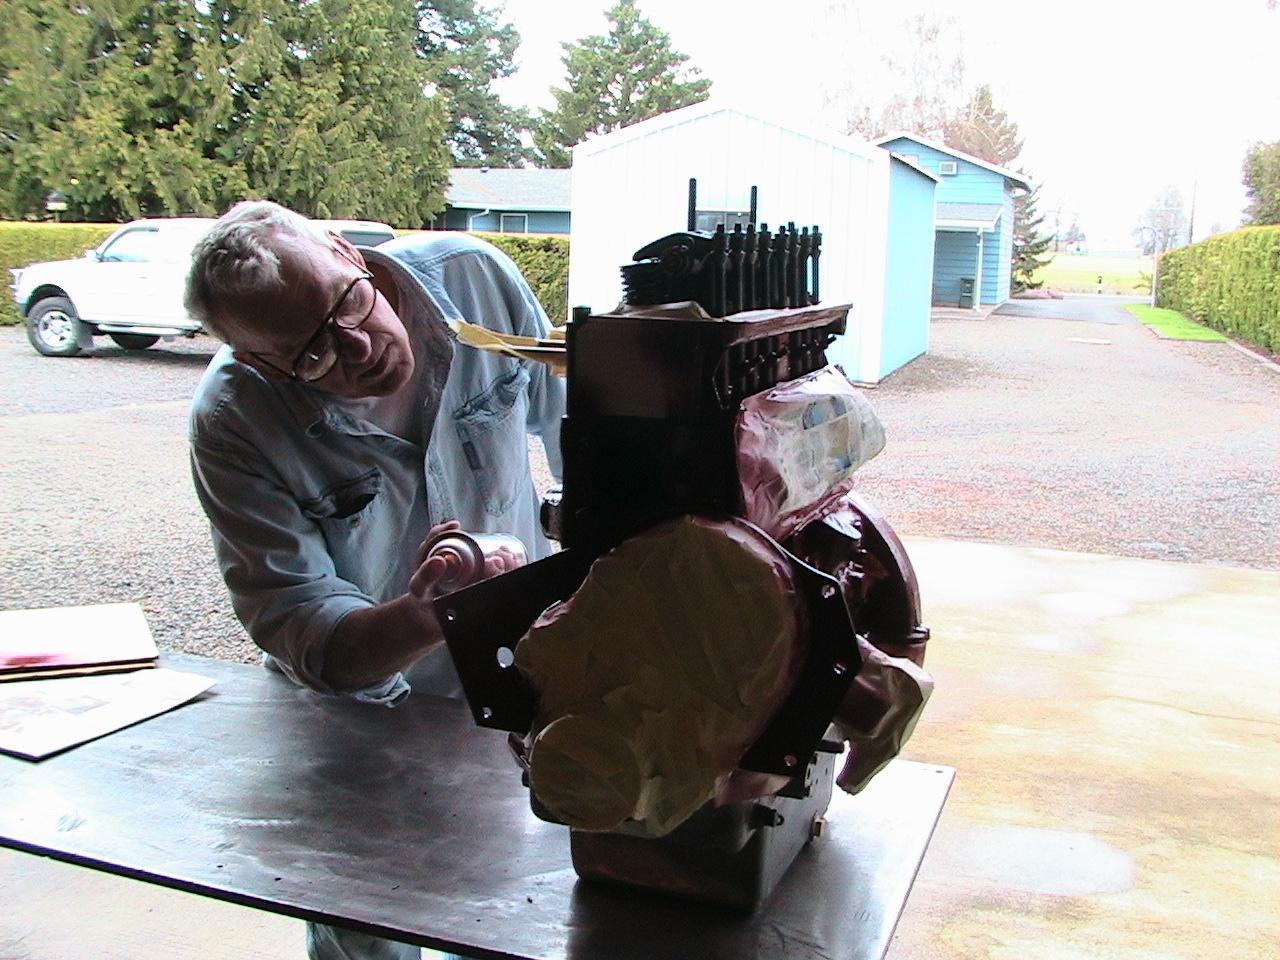
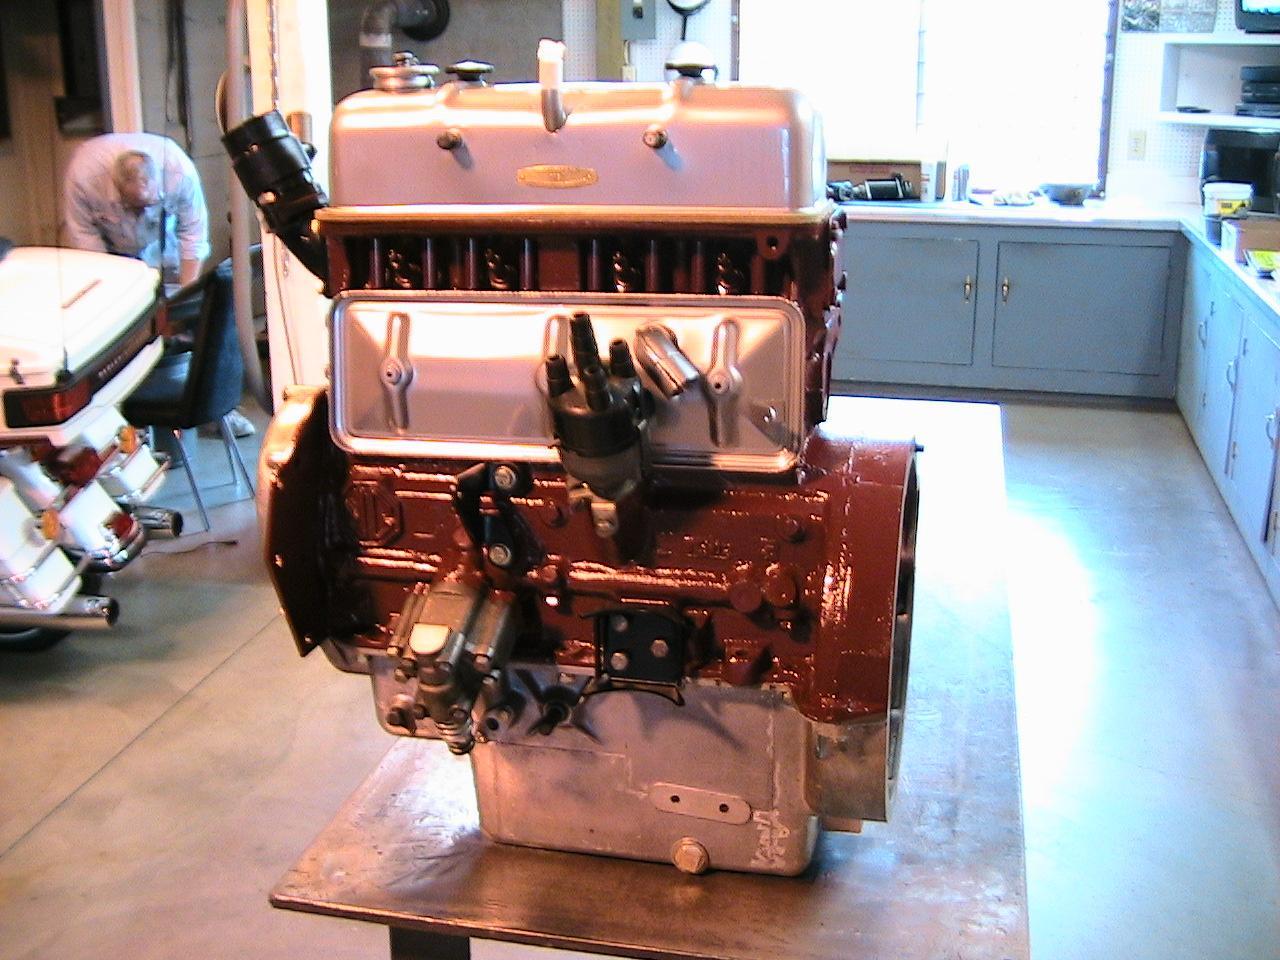 Above my dad painting the
Monster XPAG engine! Below pictures shown with some of
the components installed.
Above my dad painting the
Monster XPAG engine! Below pictures shown with some of
the components installed.
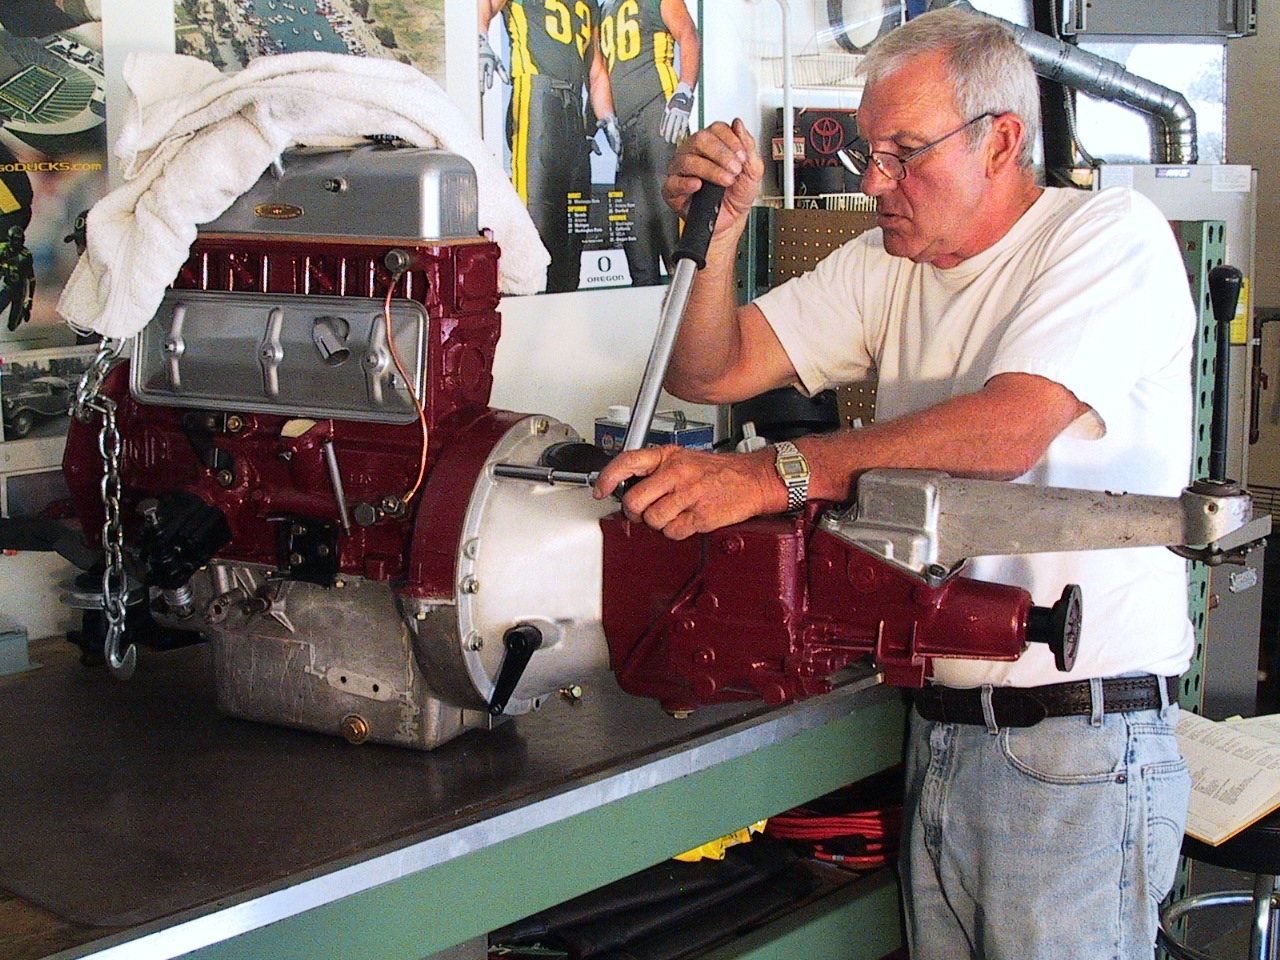
June 18, 2006 Oil filtration system in
place. Transmission ready to go.

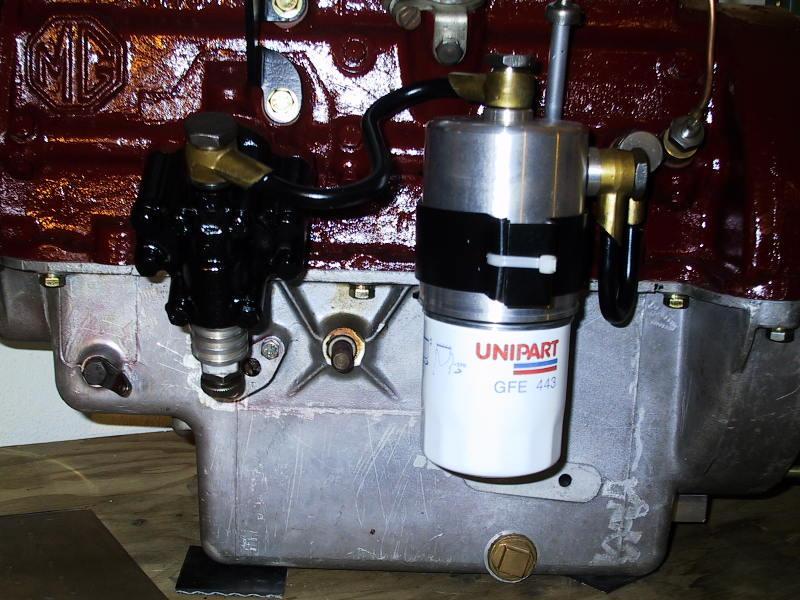 Above left freshly painted oil
pump, Above right updated screw on oil filter/adapter to
original early TD oil pump.
Above left freshly painted oil
pump, Above right updated screw on oil filter/adapter to
original early TD oil pump.
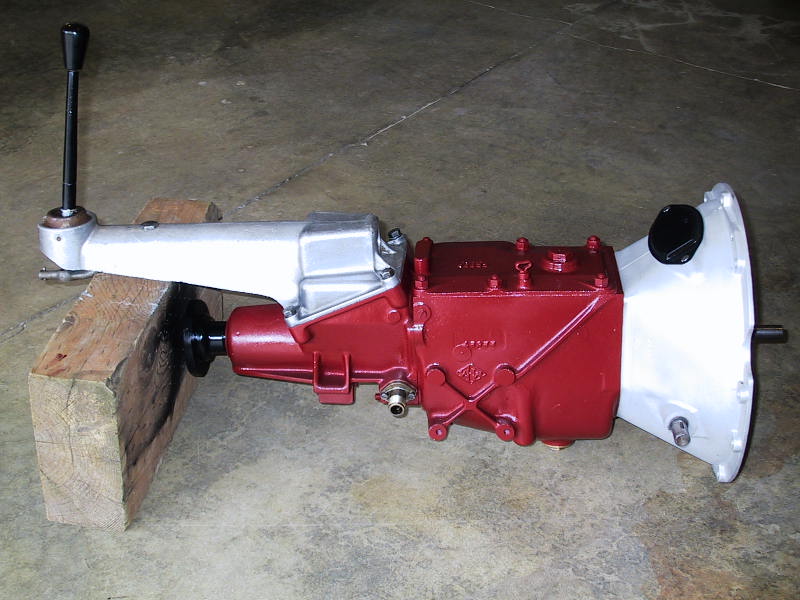
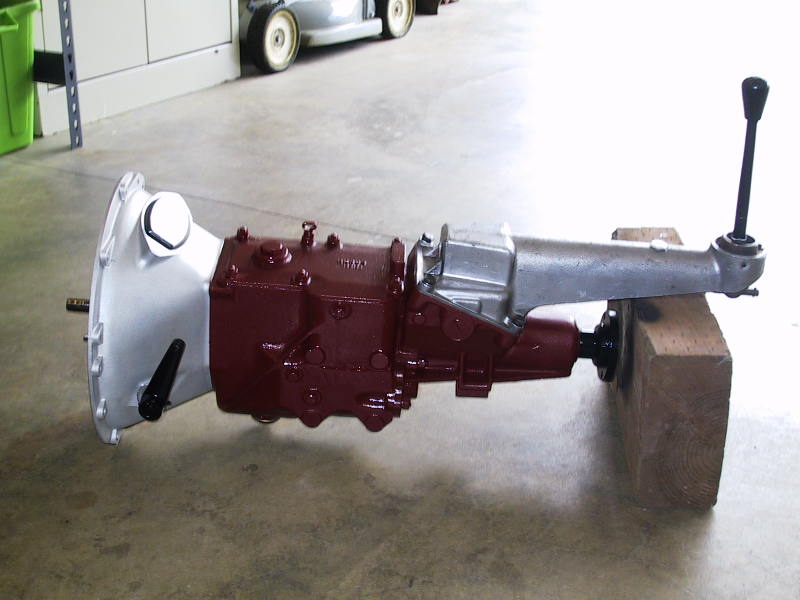
Above pictures of freshly painted transmission ready for
install.
Other work done On June 18: Rear end filled with 90w
Hypoid oil.
Break cylinders in each wheel cleaned, lubricated, and
reassembled.
Break system filled with Lucas Girling break fluid.
Bleeding of the break system and in proper working order.
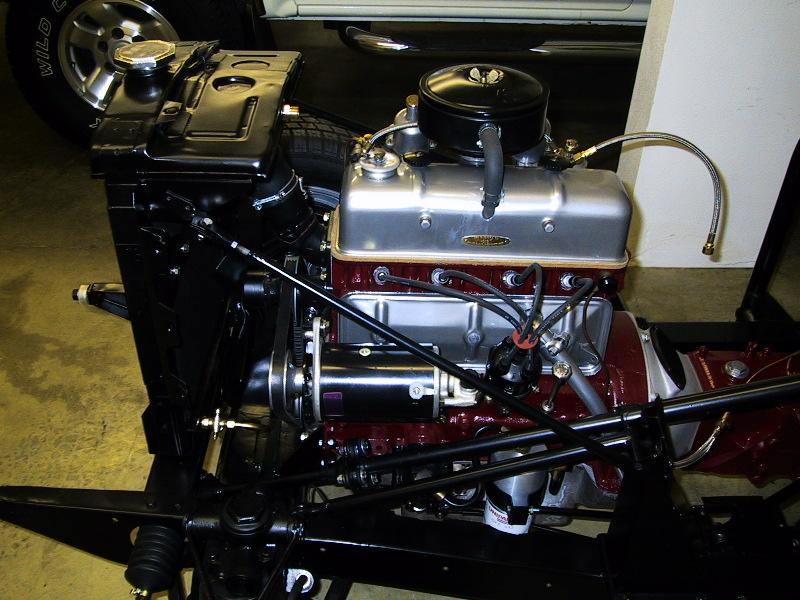
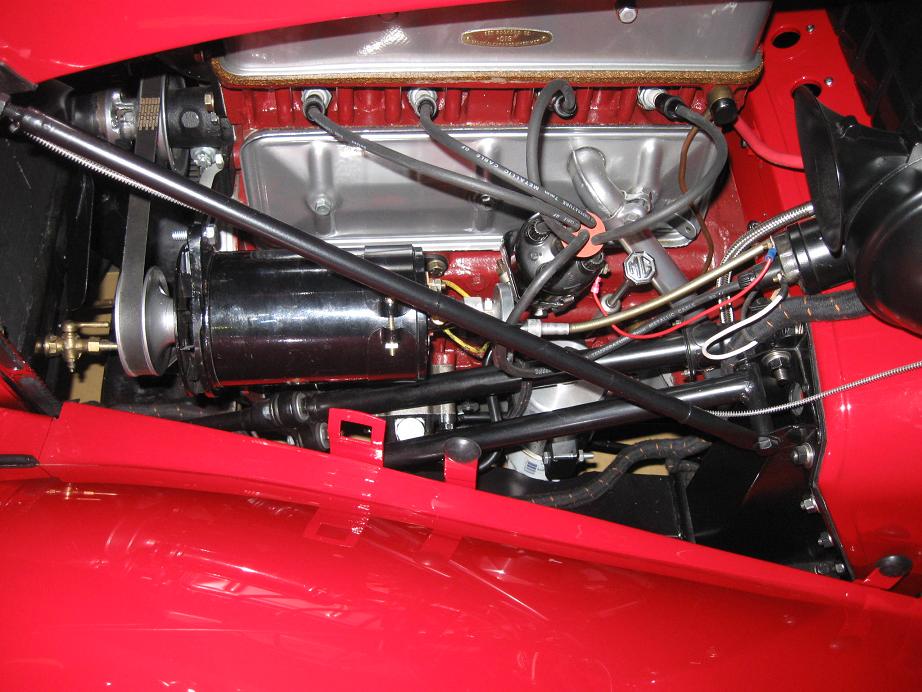
July 31, 2006 Engine mounted in car

Above left: pressure plate, clutch, fly wheel mounted.
Middle: Installing bolts to torque specs. Right: new
release bearing in place.
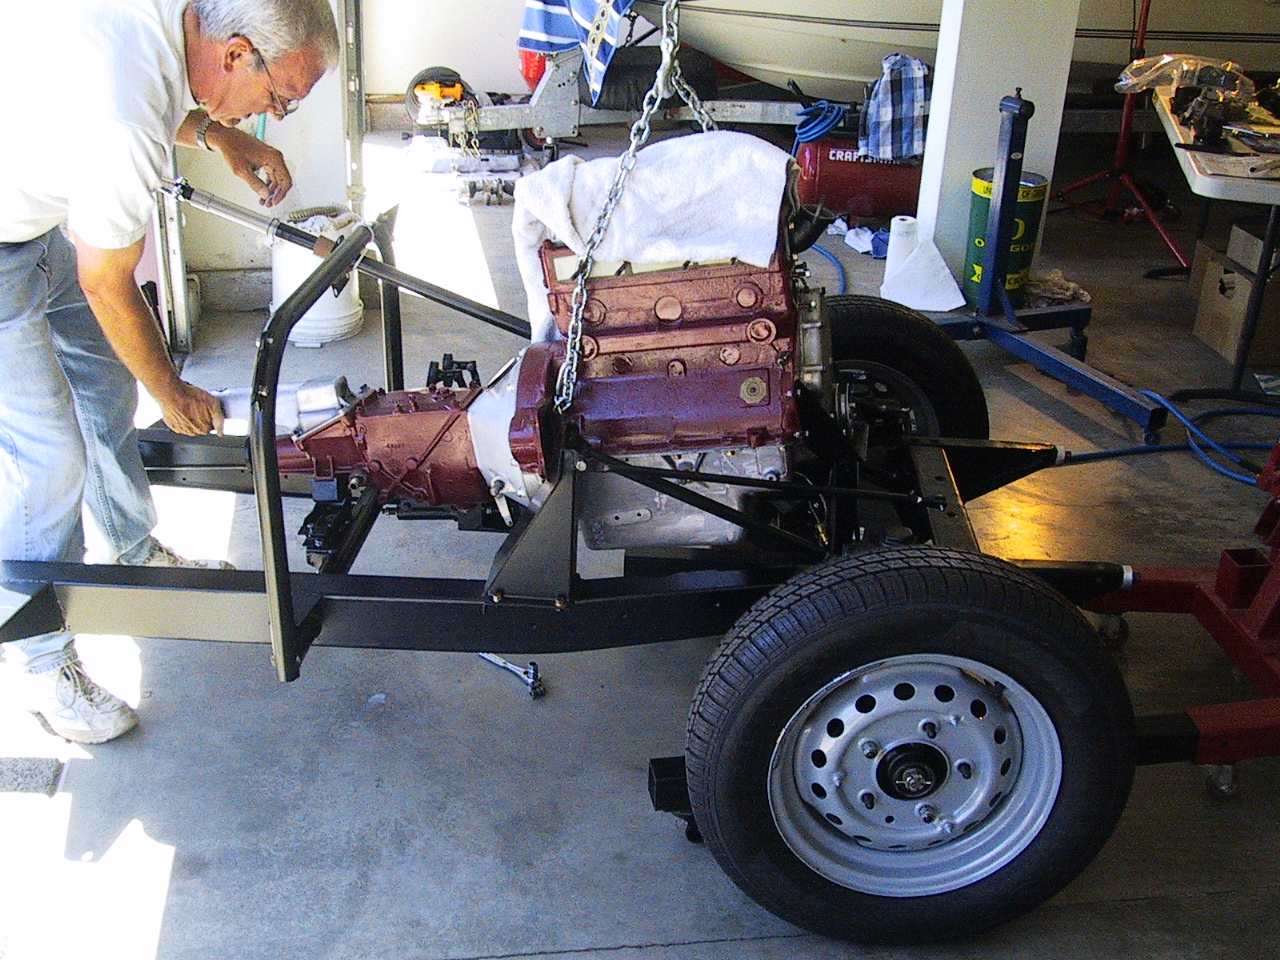
Above left: Dad bolting on the bell housing. Middle:
Lifting engine into the chassis. Right: Install
complete.

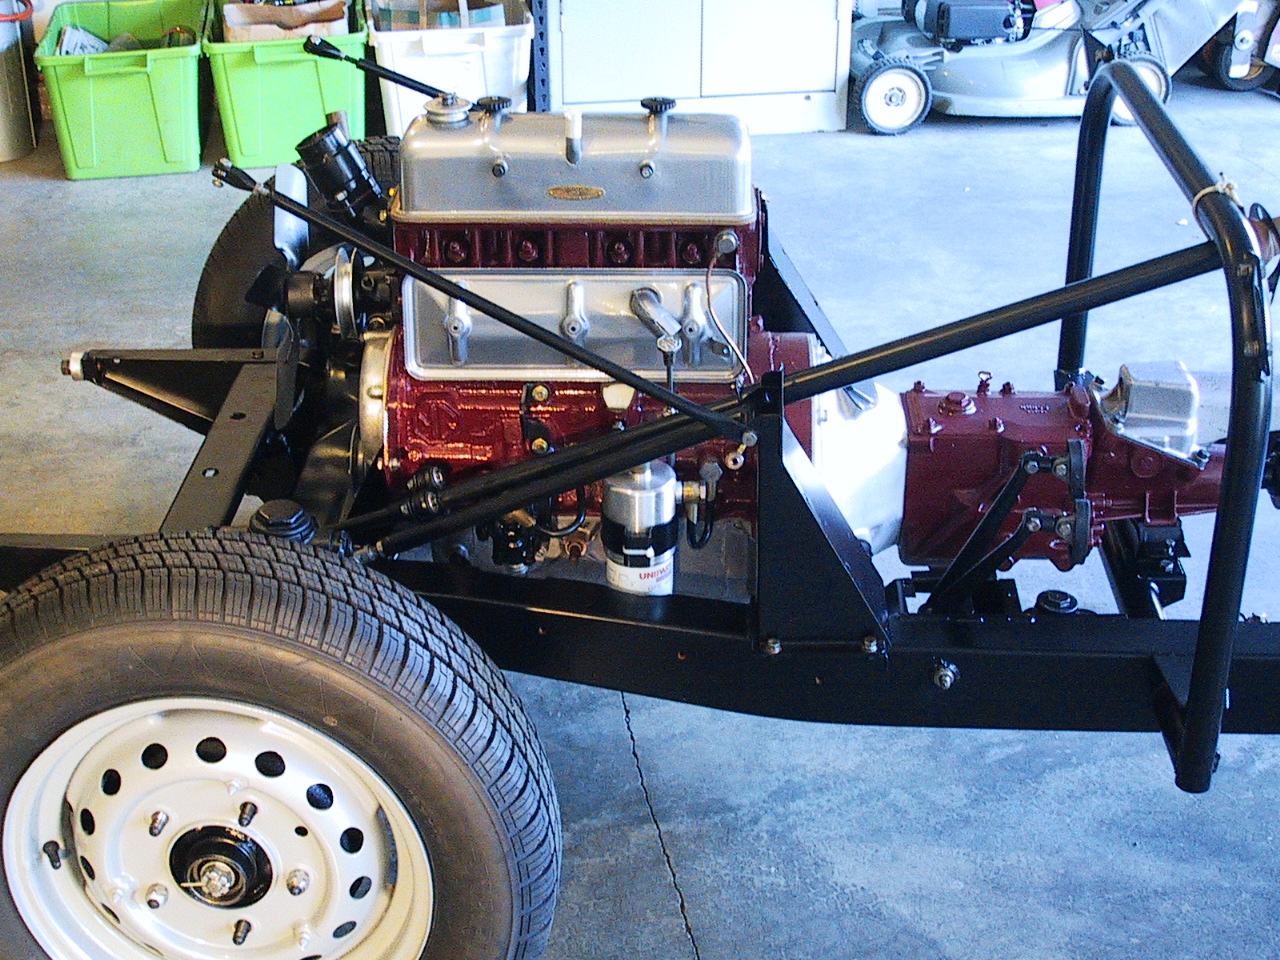
Above pictures of engine in place with radiator and other
accesories in place.
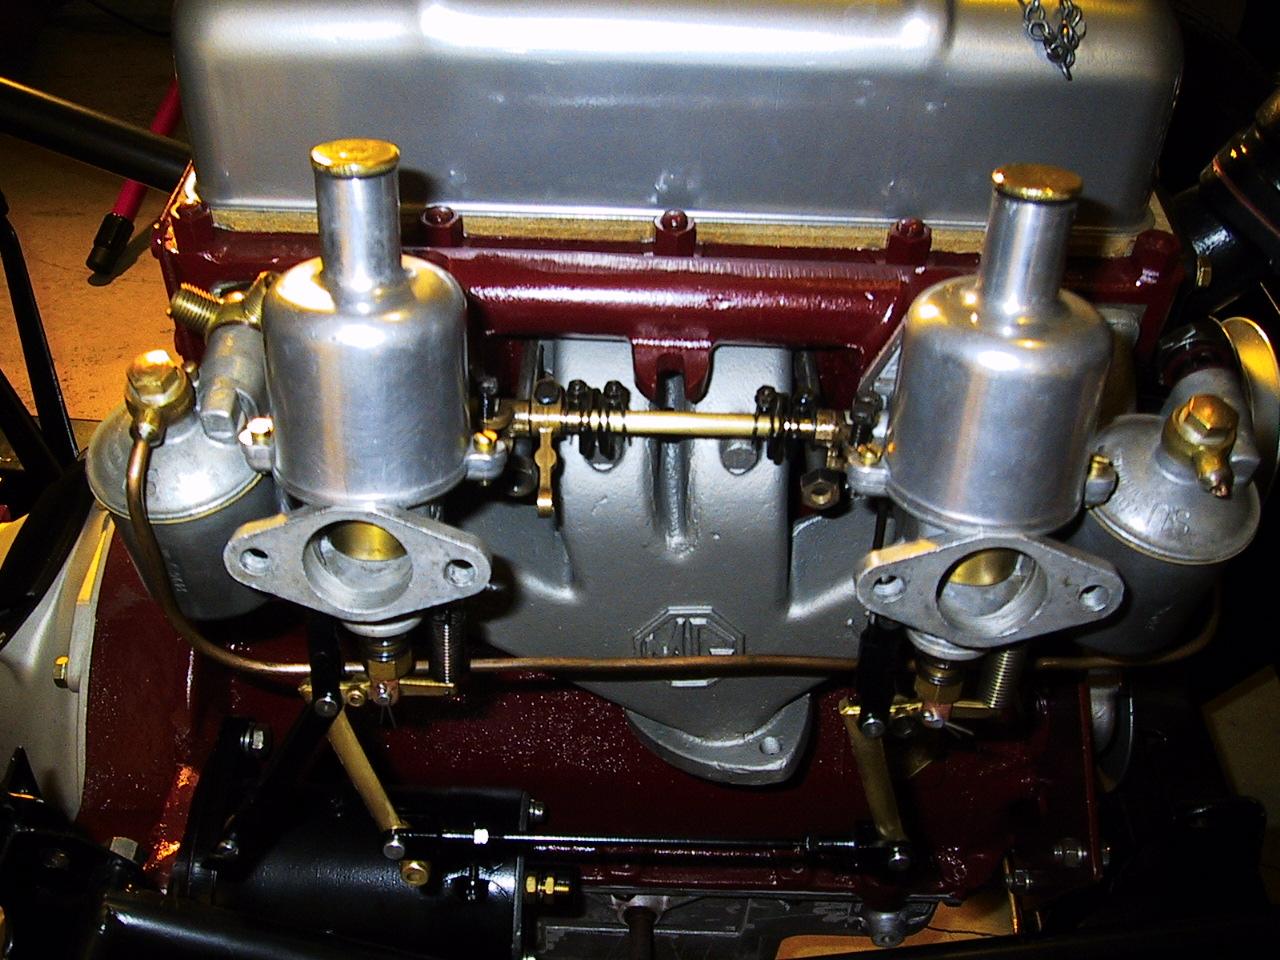
October 23, 2006 Rebuilt Carburetors
sitting in place!
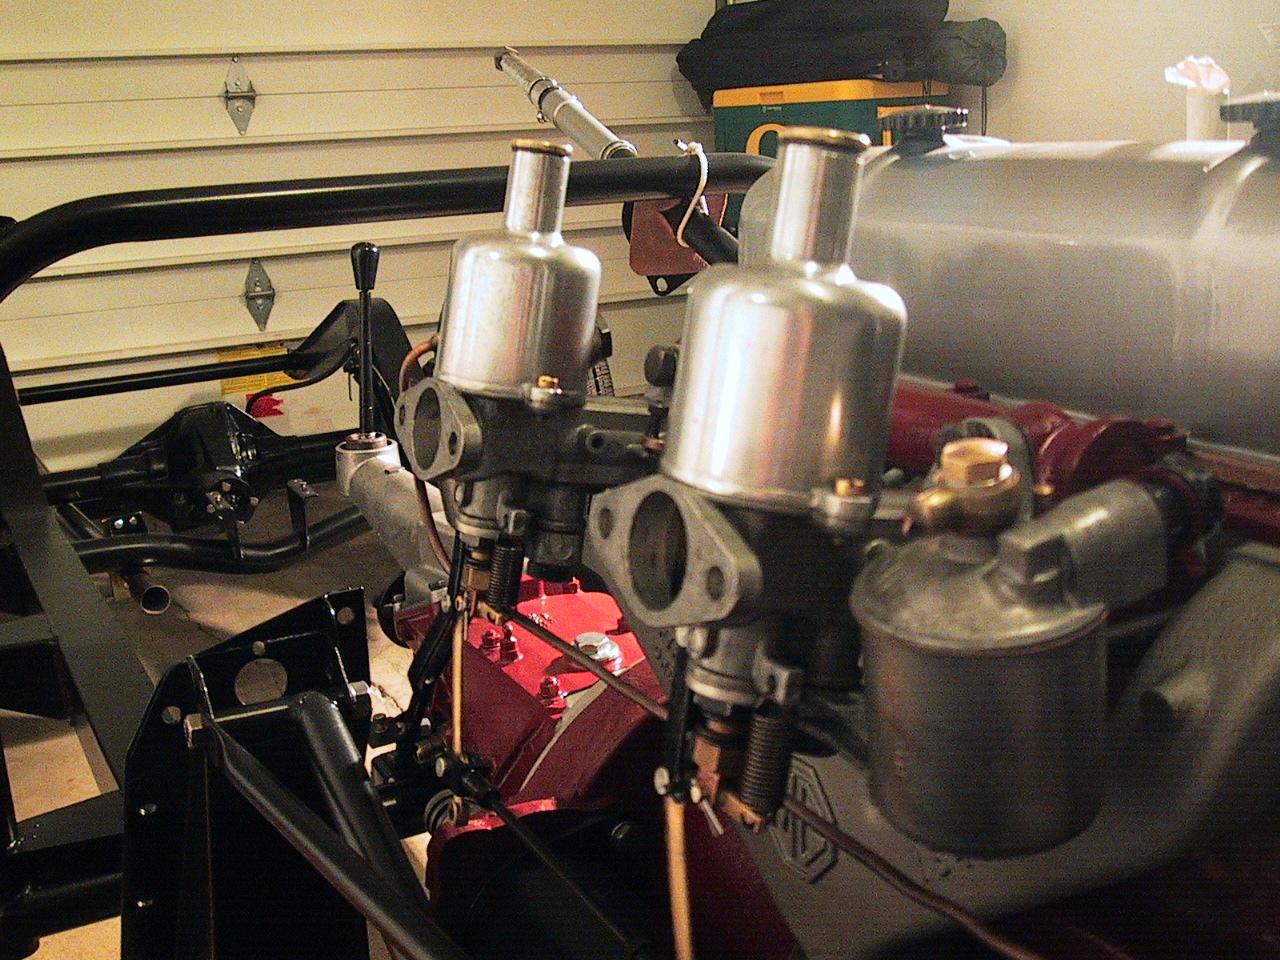
November 25, 2006 Carburetors
mounted/Cooling system
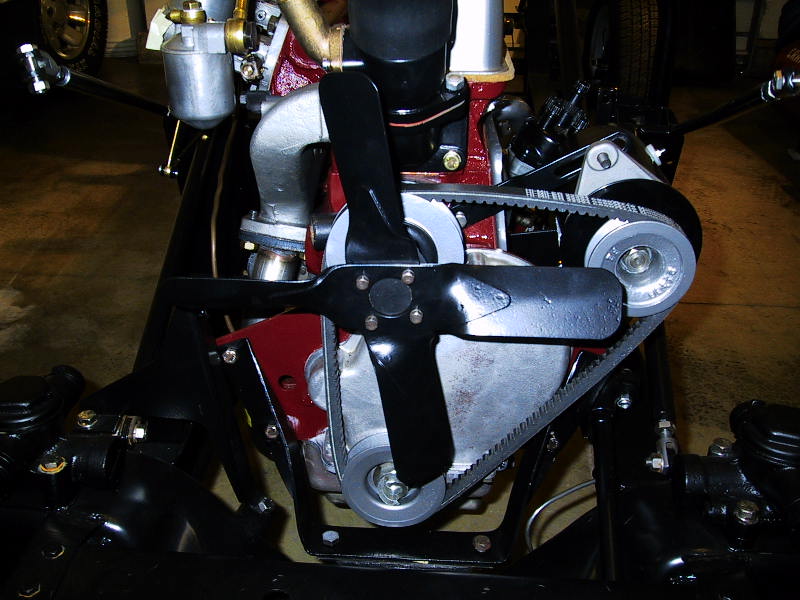
Above left: The
fan, fan belt and a glimpse of the thermostat. Above
right: The Carburetors mounted with fuel lines in
place.
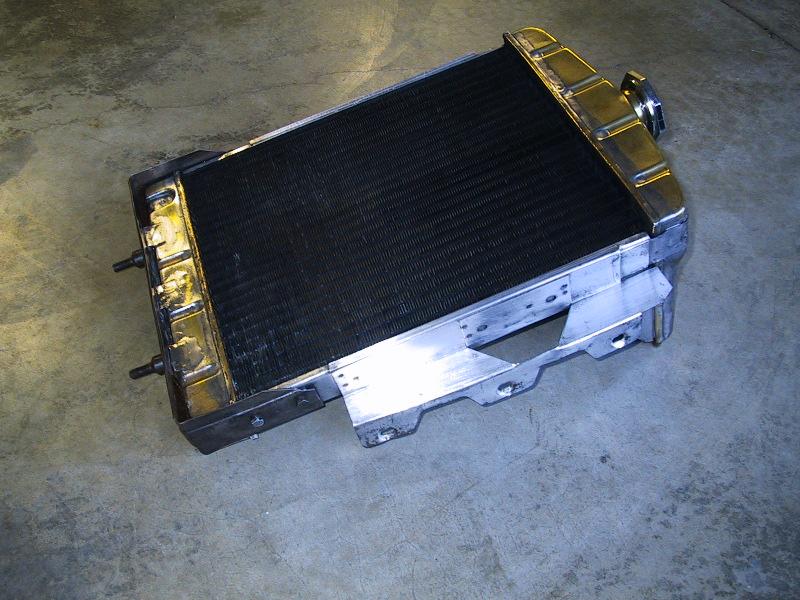
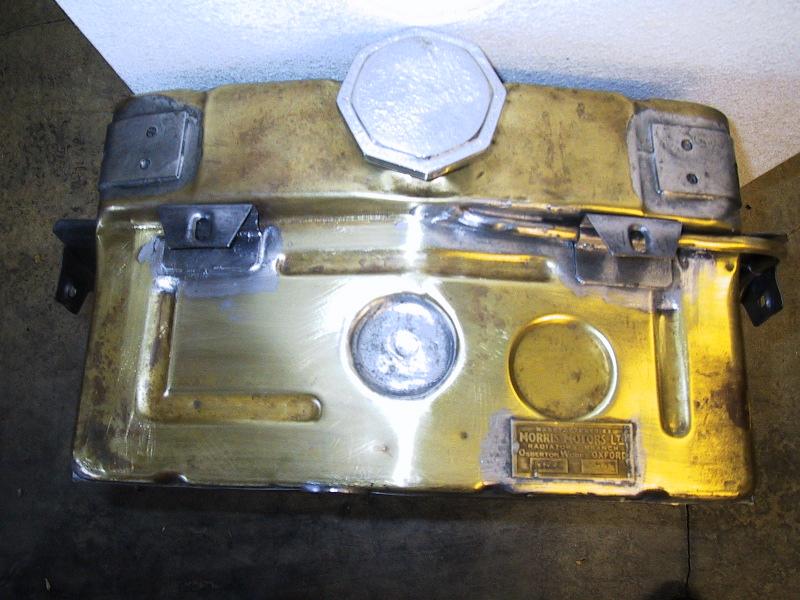
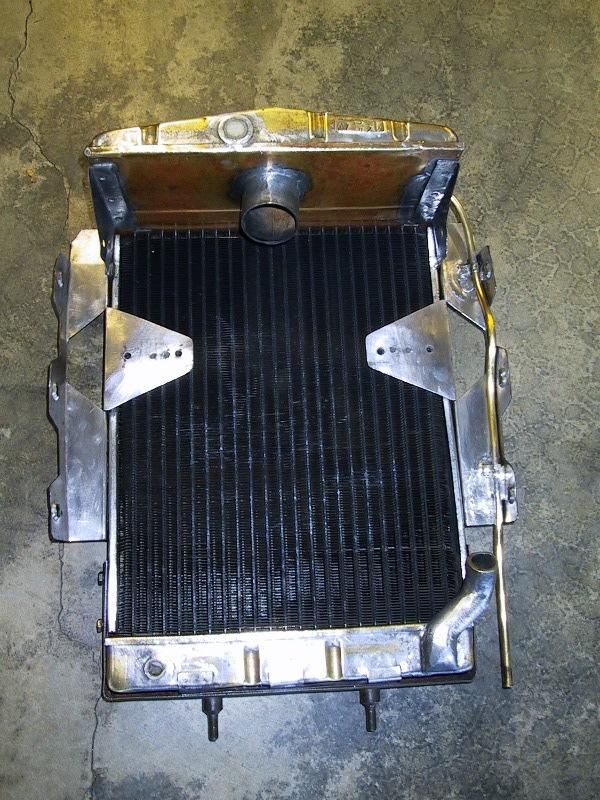
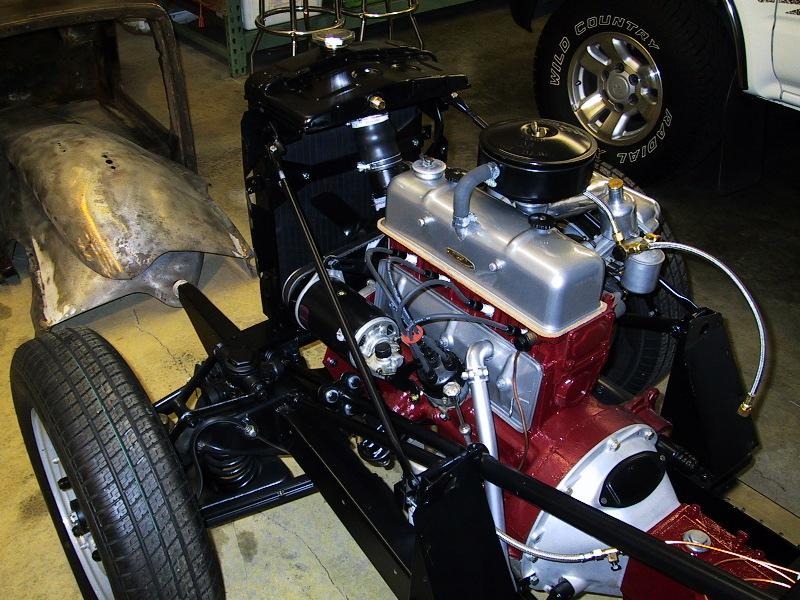
May 15, 2007 The radiator stripped and
painted for final install.
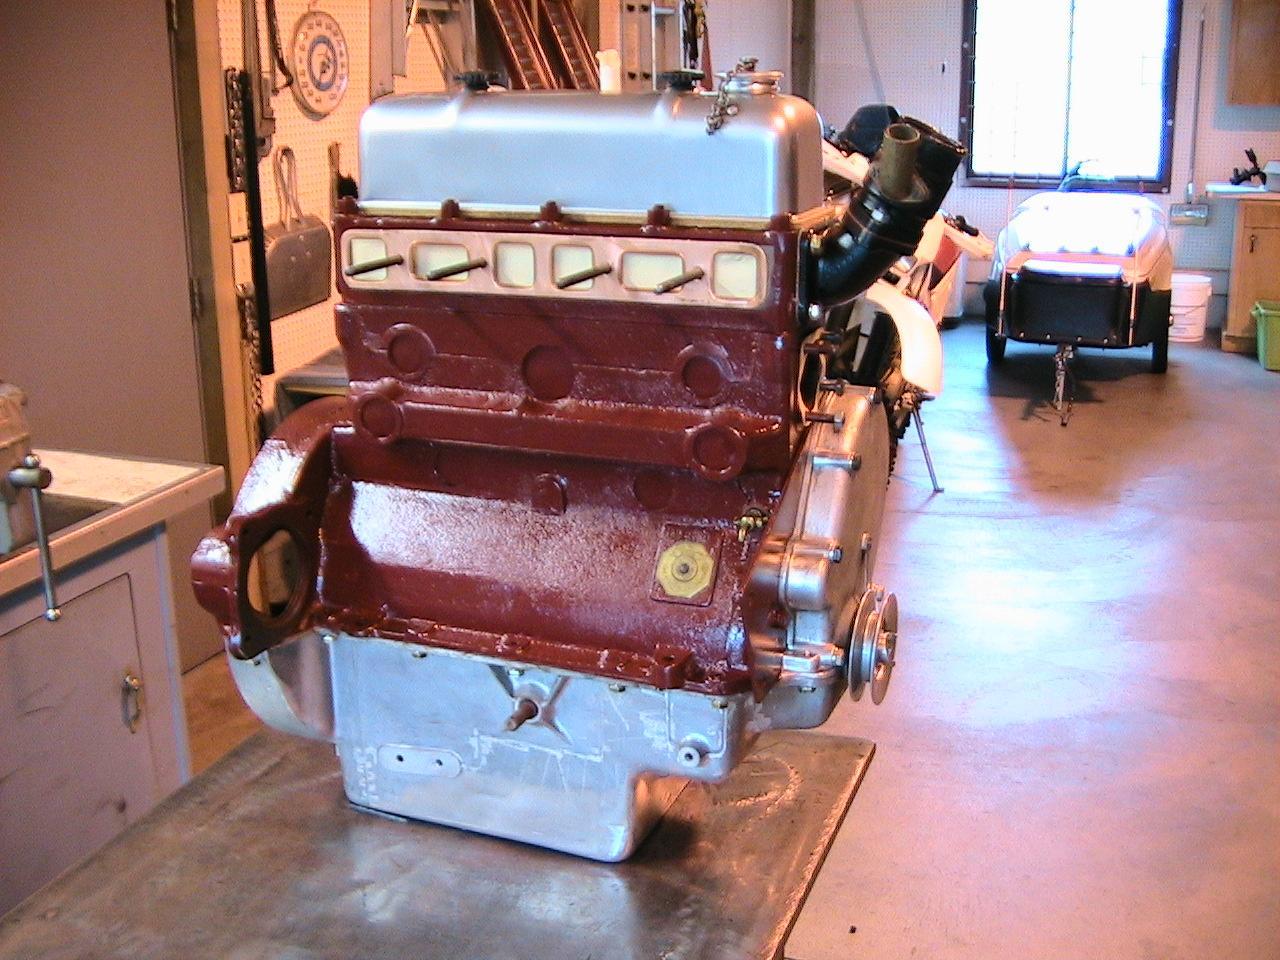
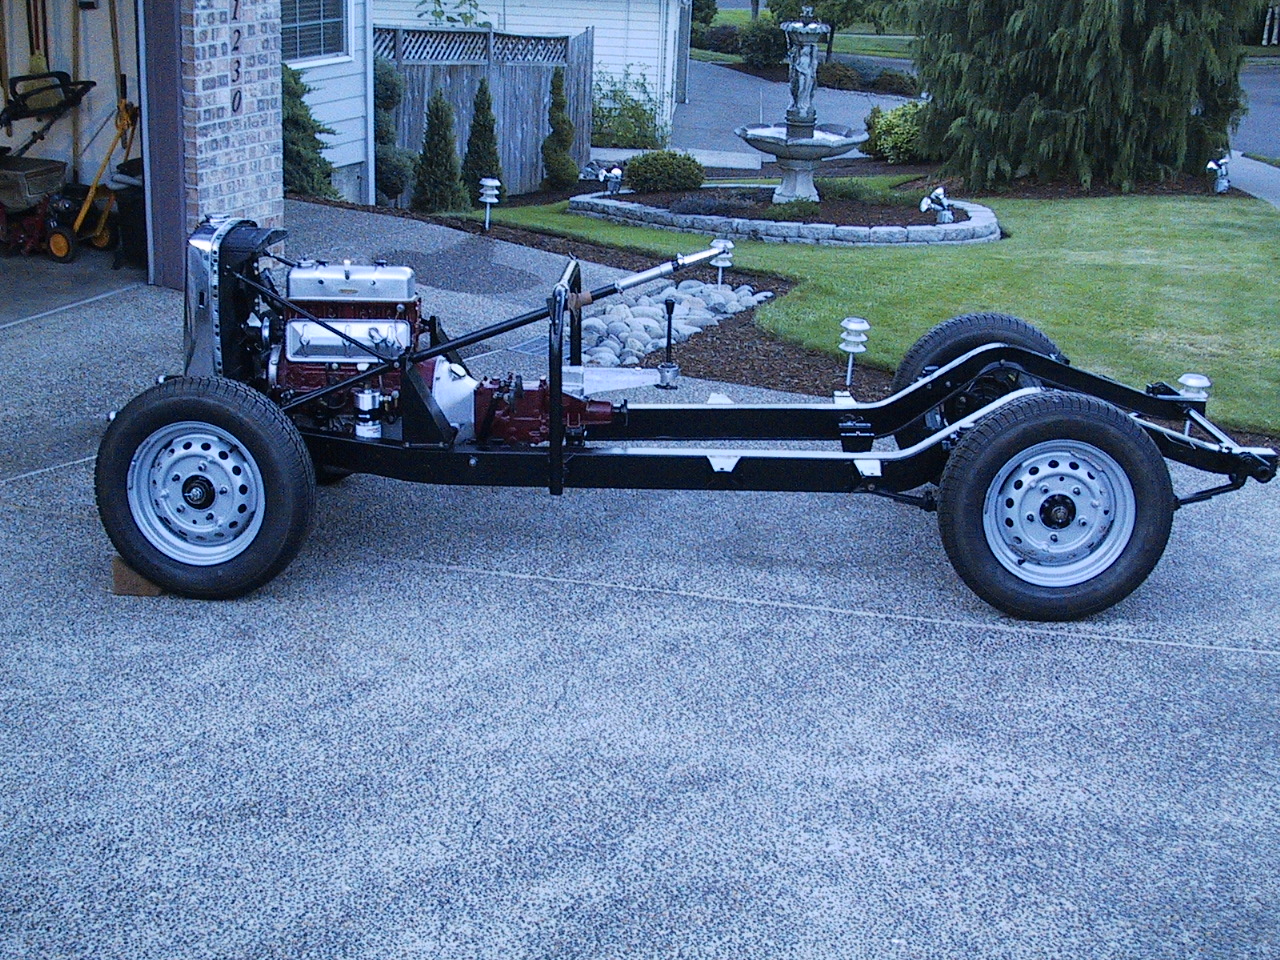
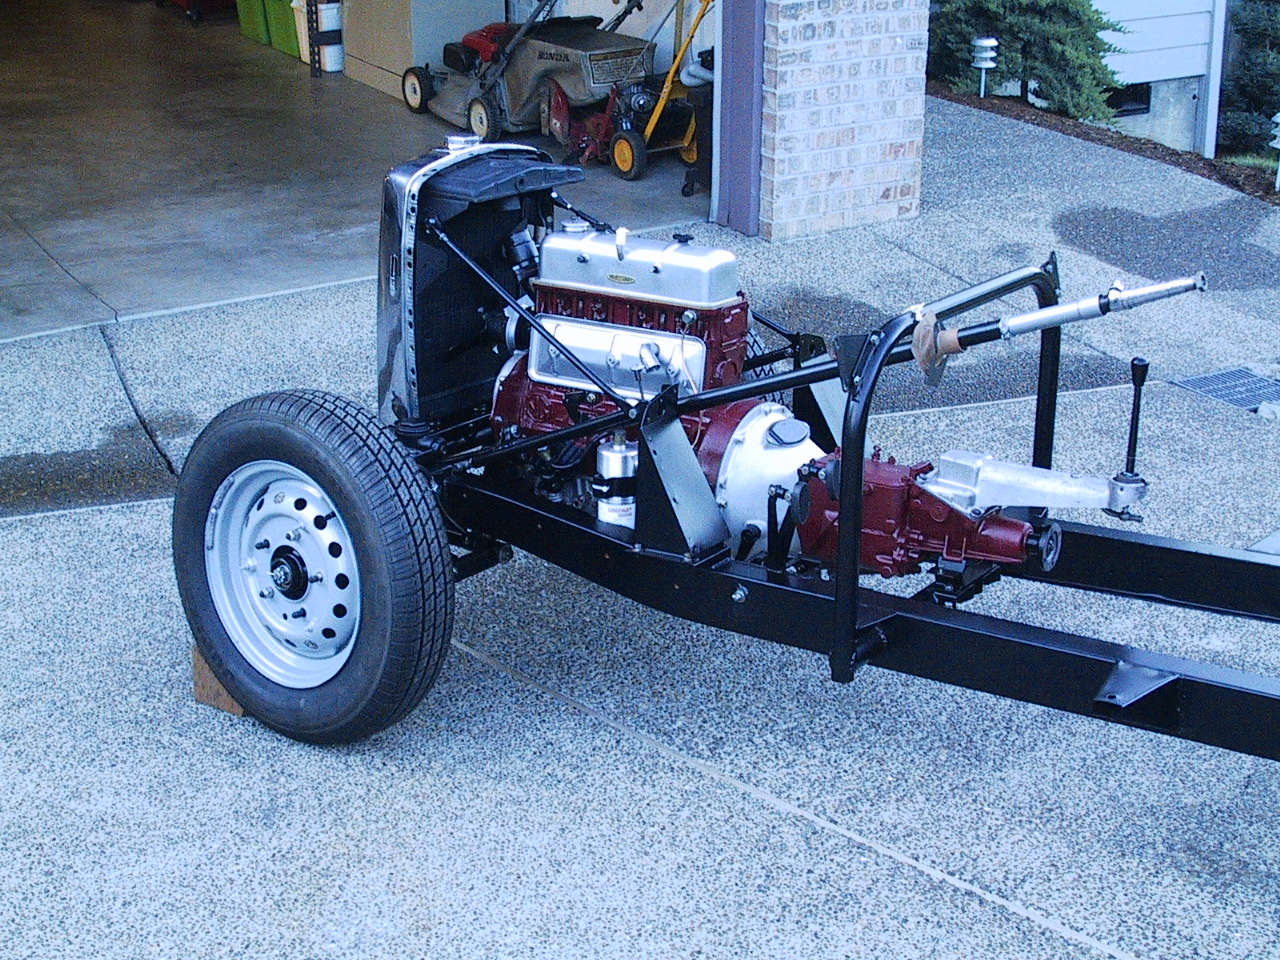
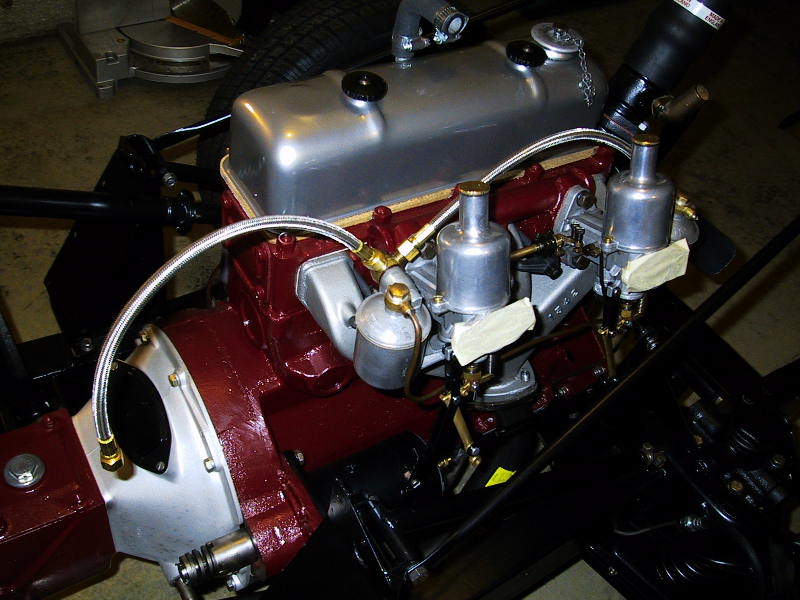
June 9, 2007 The engine with many more
components in place.
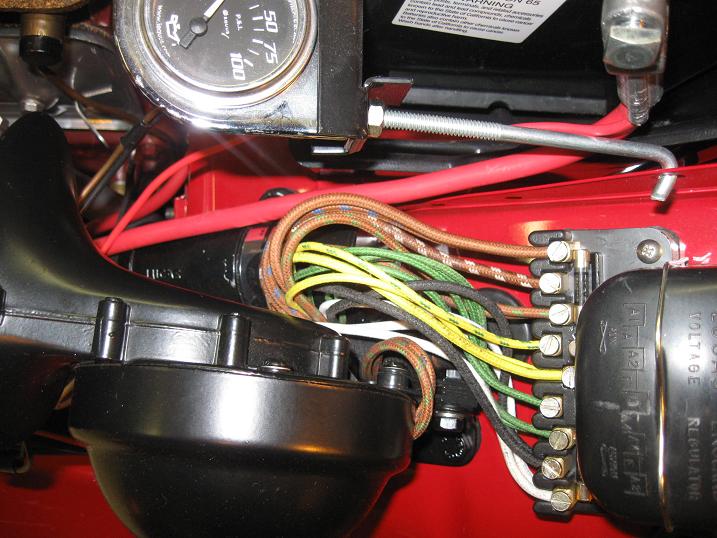
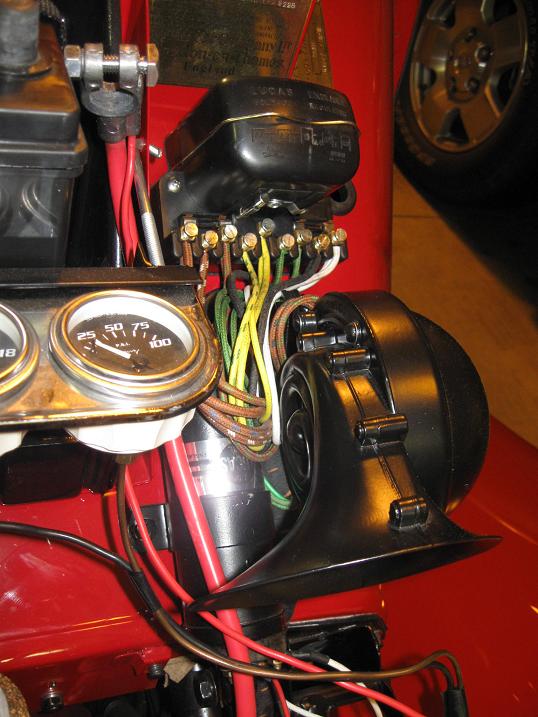
January 9, 2011 9 post regulator
installed with wire harness hooked up. Temporary gauges
still in place.
Dash board wiring almost complete.
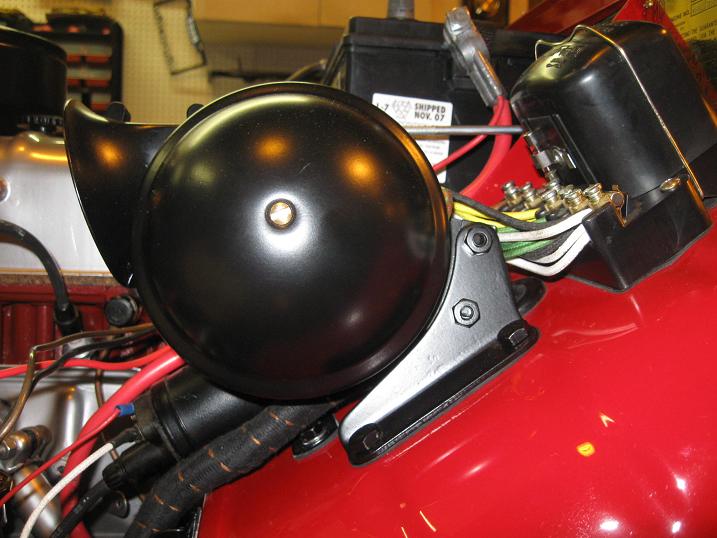

February 27, 2011 New reproduction
generator installed.
Page created by Rich
King
