Reassembly - Weather
Equipment
Click on images
for larger picture
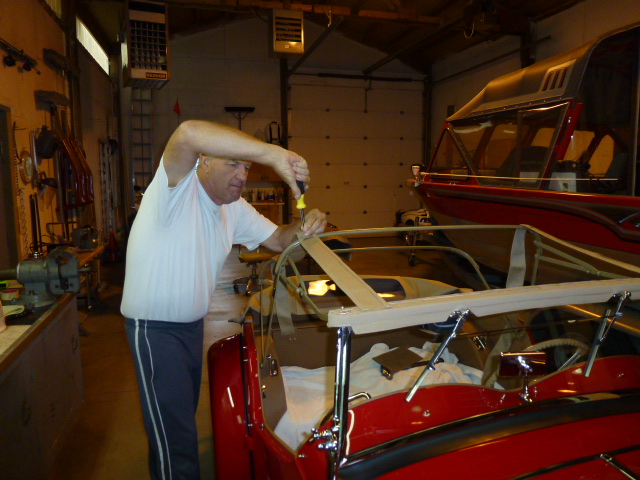
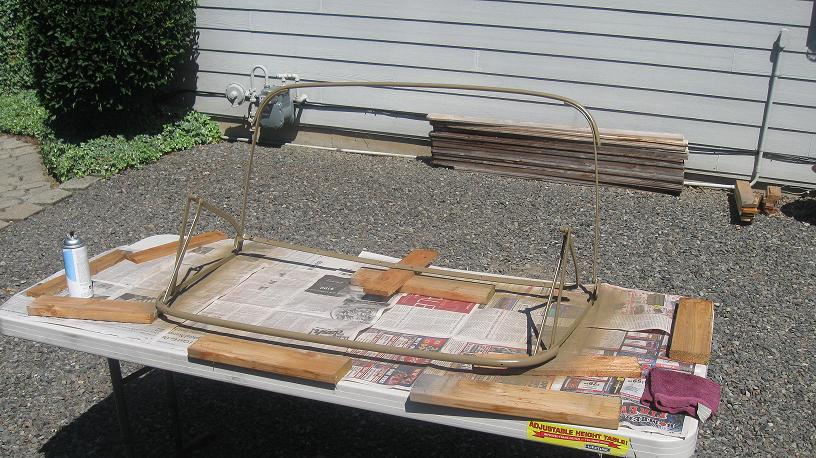
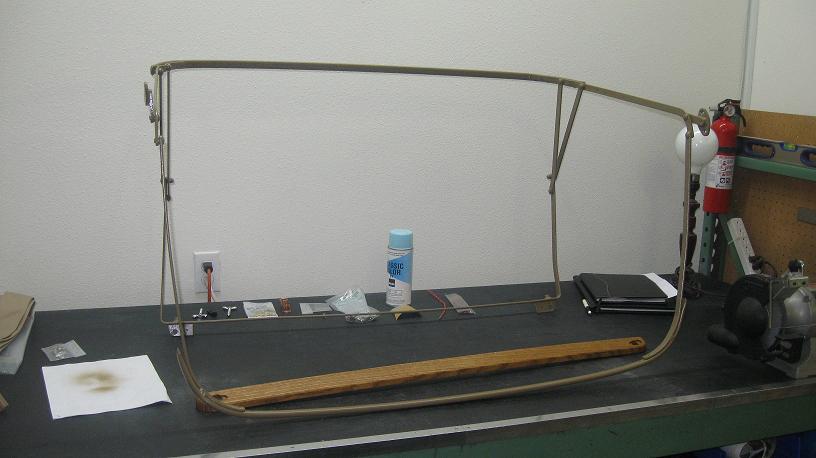
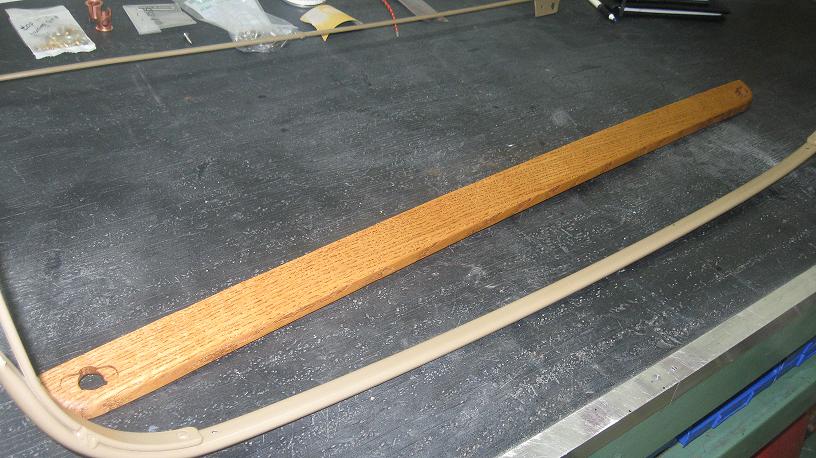
July 21, 2012 Some
touching up of the factory beige on the 2 bow top frame.
I also stained the windshield top rail prior to
covering.
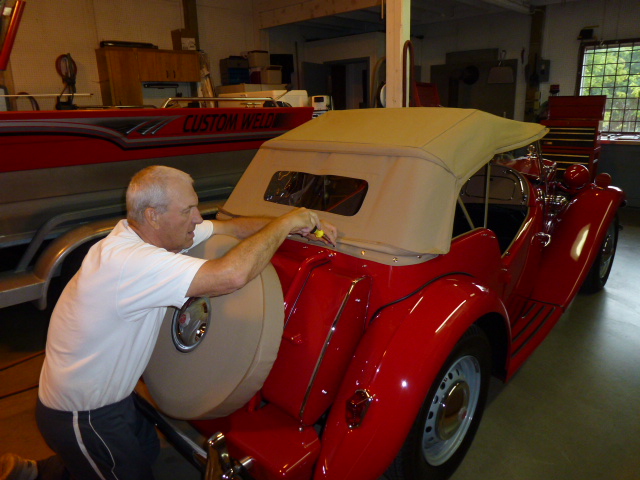
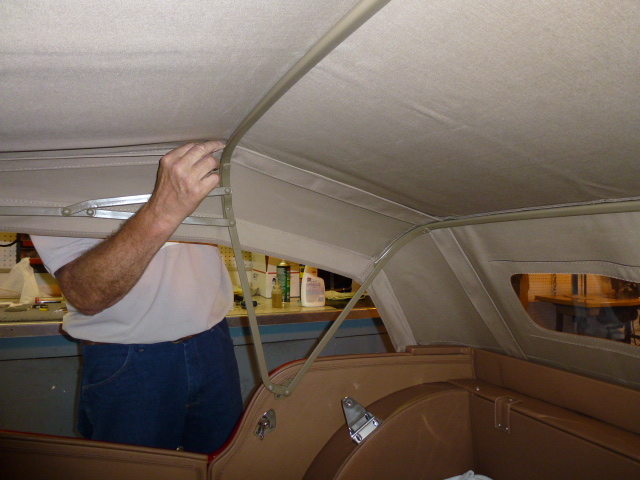
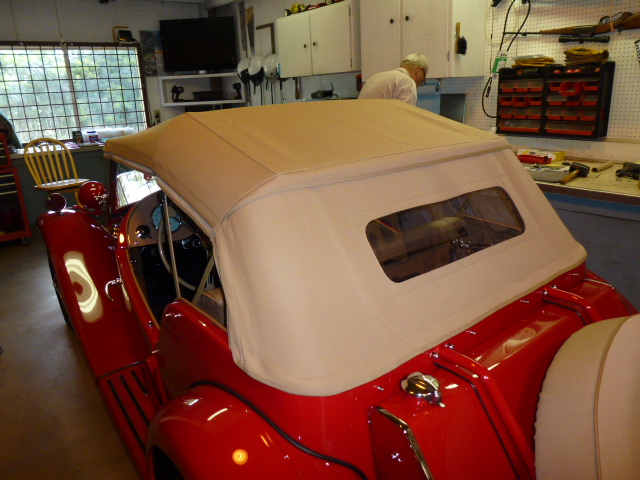
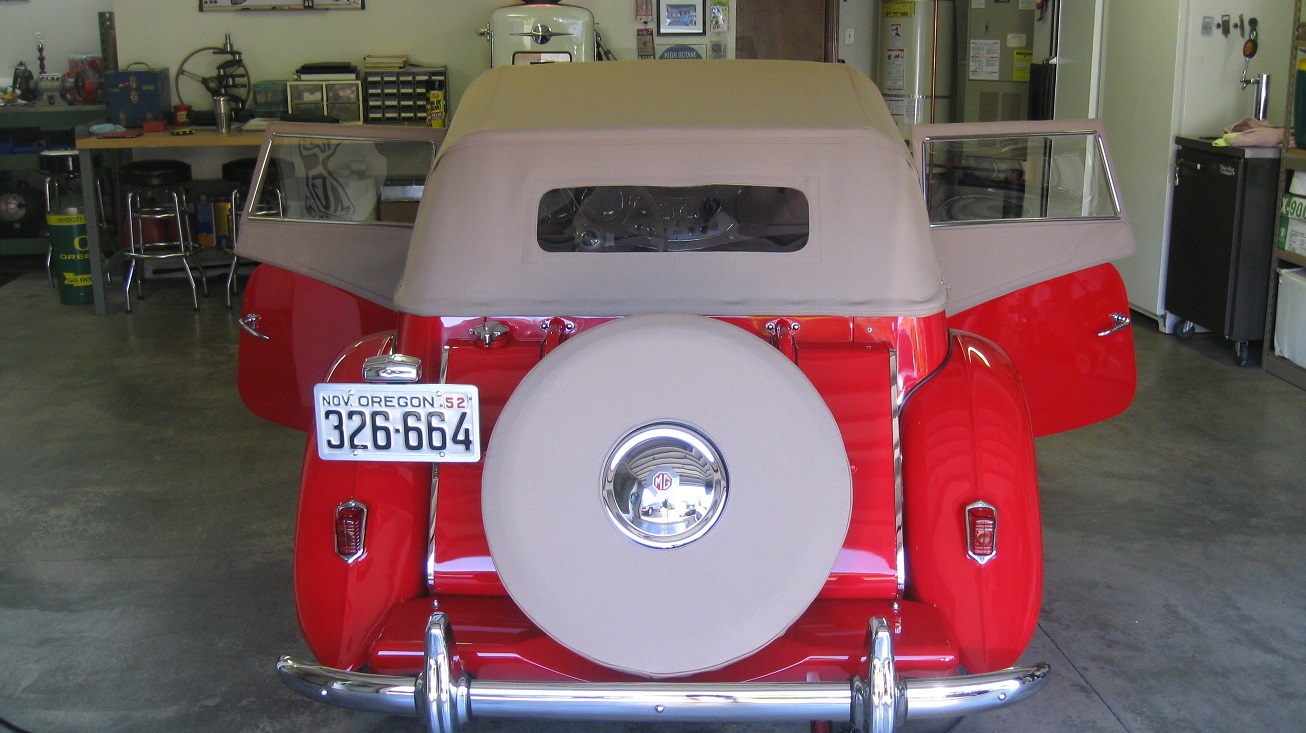
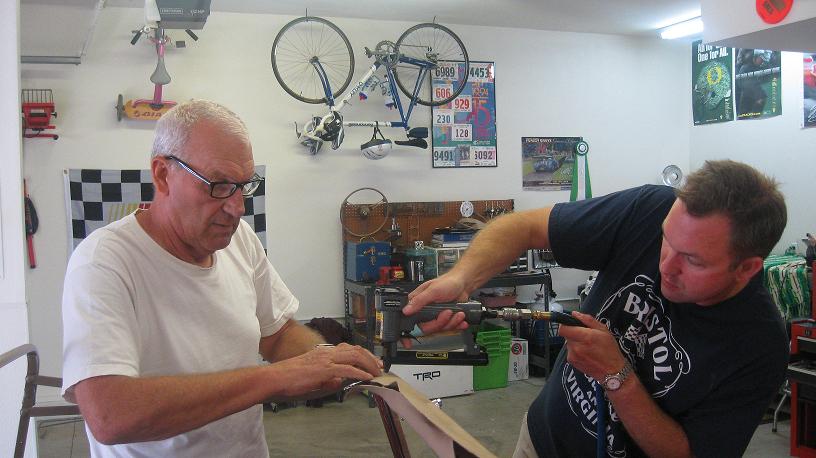
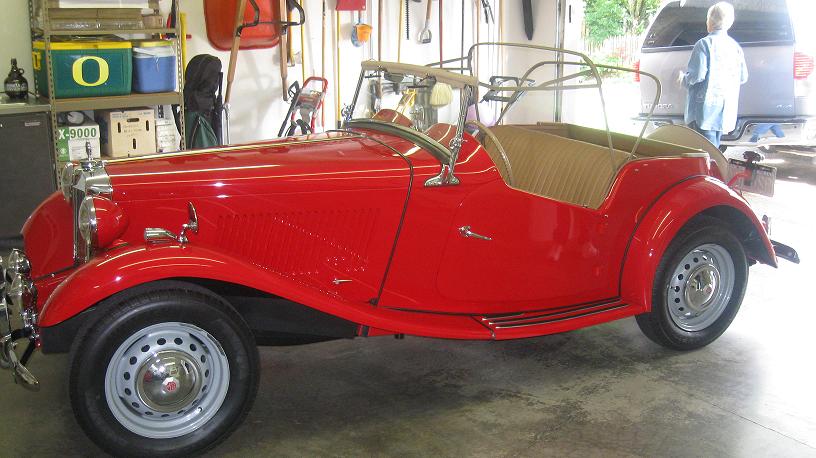
July 22, 2012 Here
we are getting the frame mounted into place. We
started covering the top rail with the stayfast tan top.
This was the first attempt of several. It did
finally come together for a nice finished product.
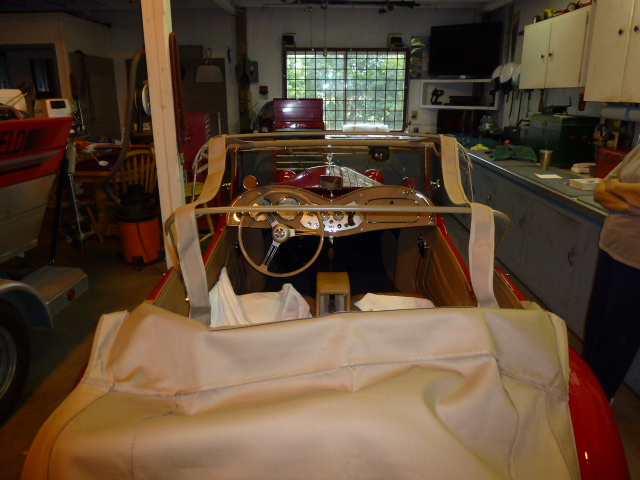

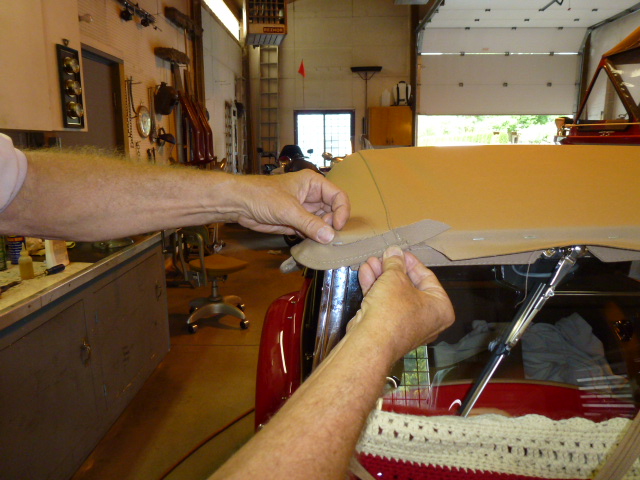
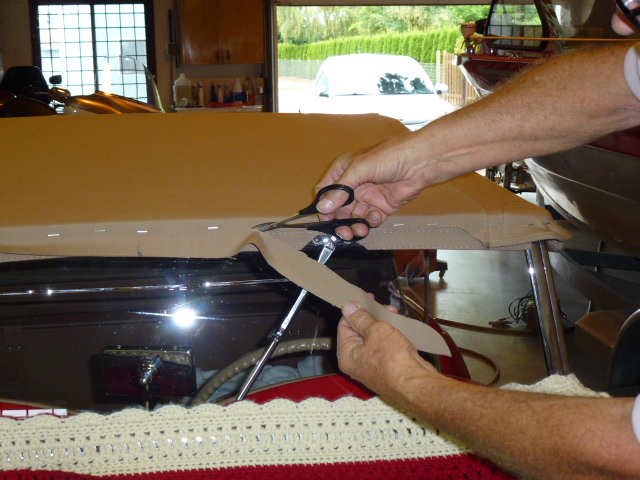
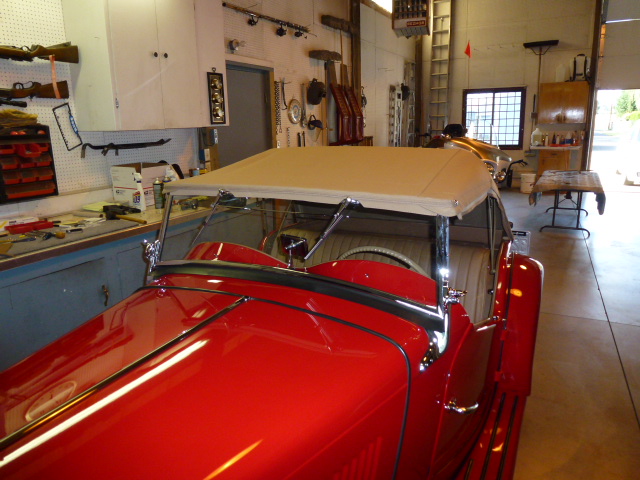
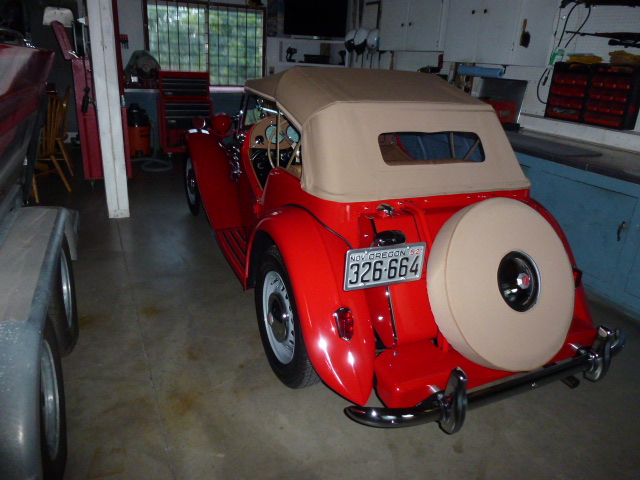
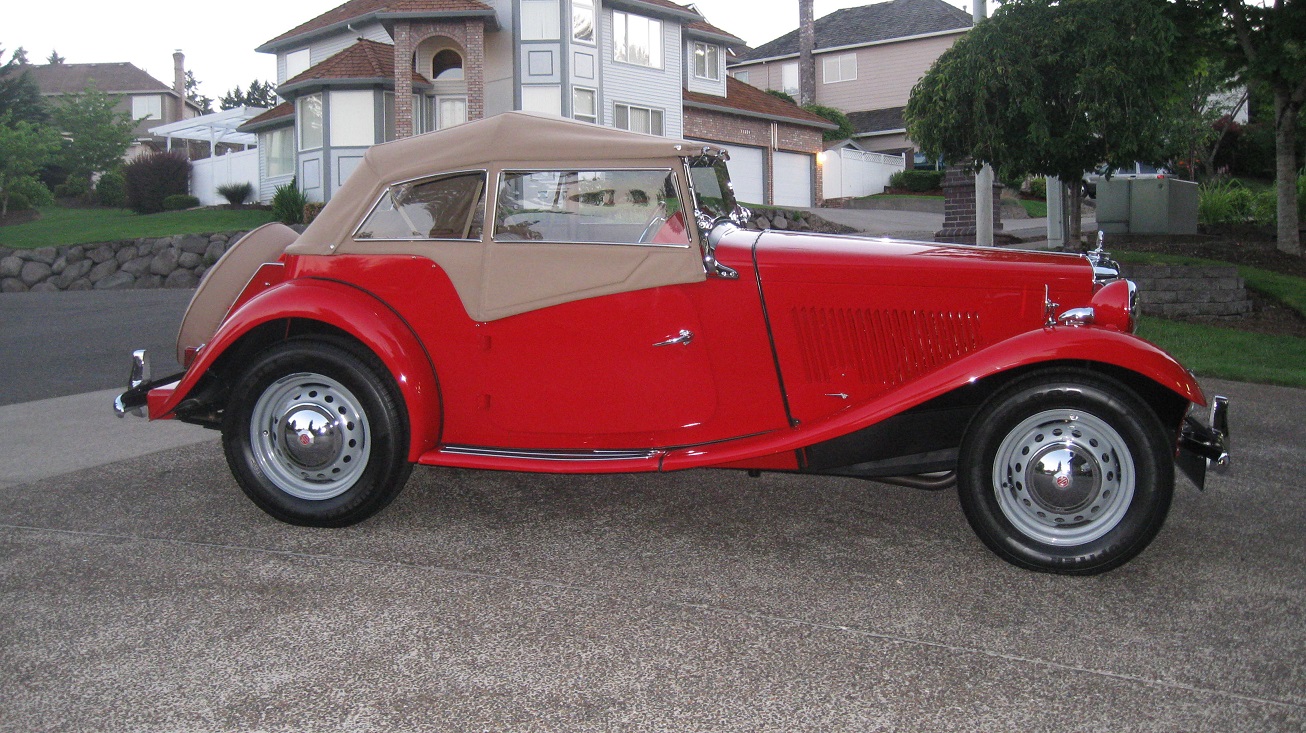
 July 27-30, 2012 Over
the next few days the car was trailered to my dads house
for completion of the top.
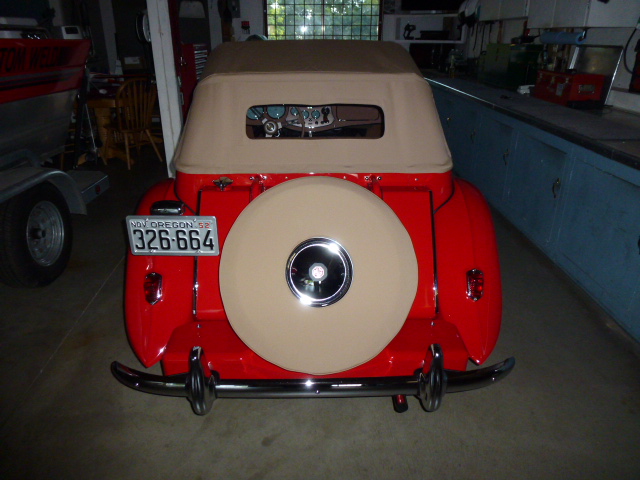
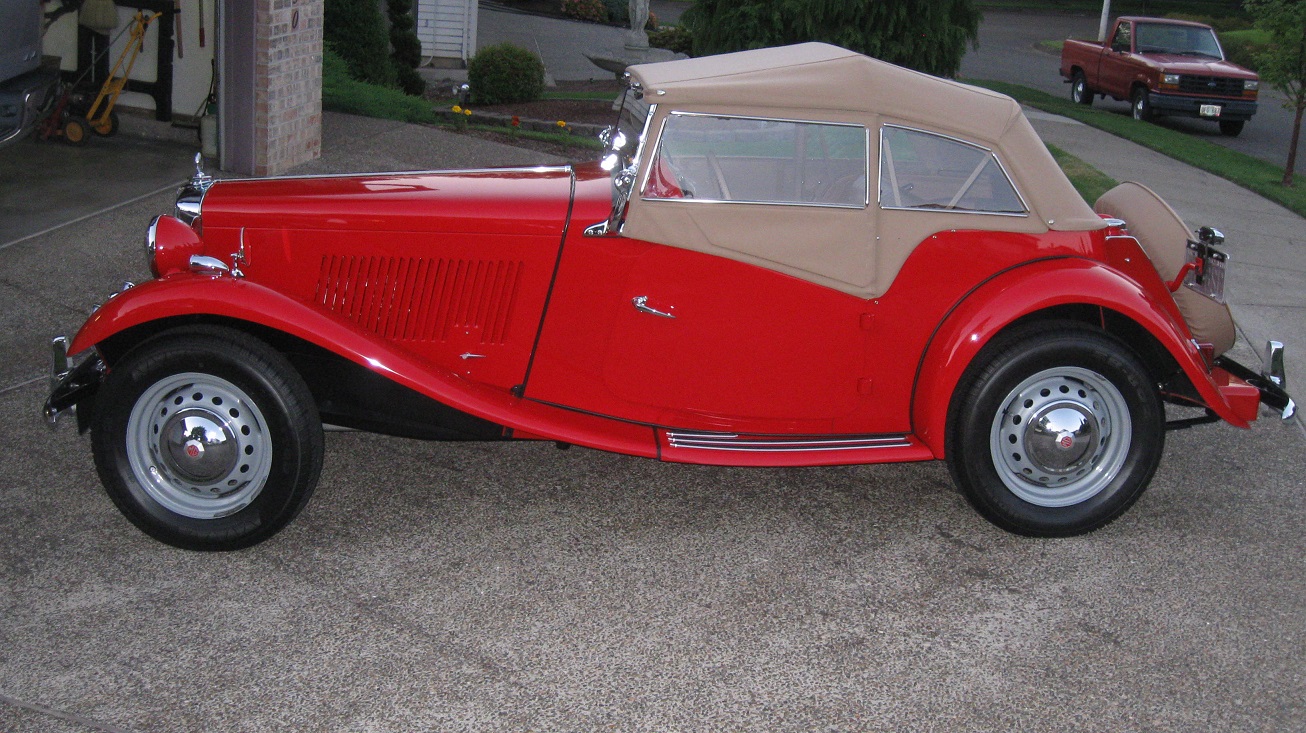
July 27-30, 2012 Over
the next few days the car was trailered to my dads house
for completion of the top.
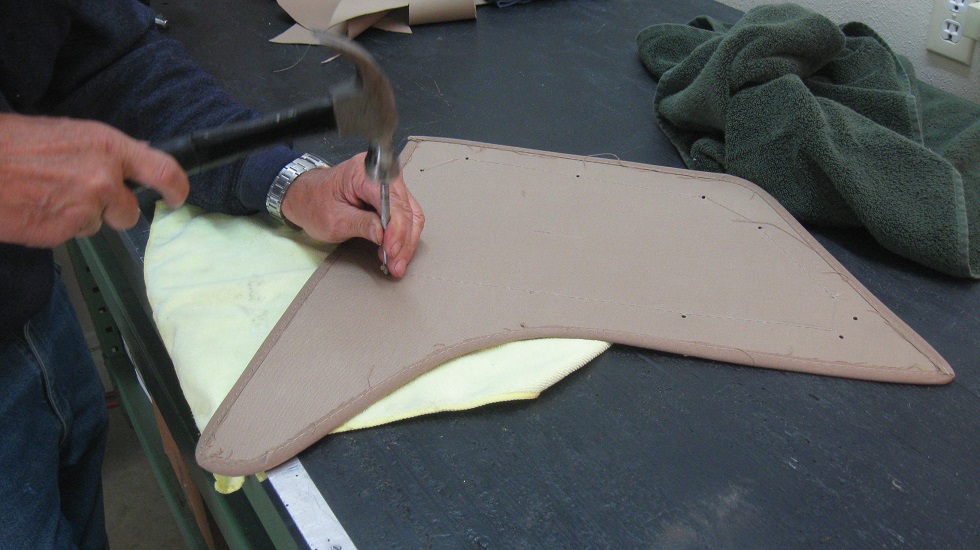
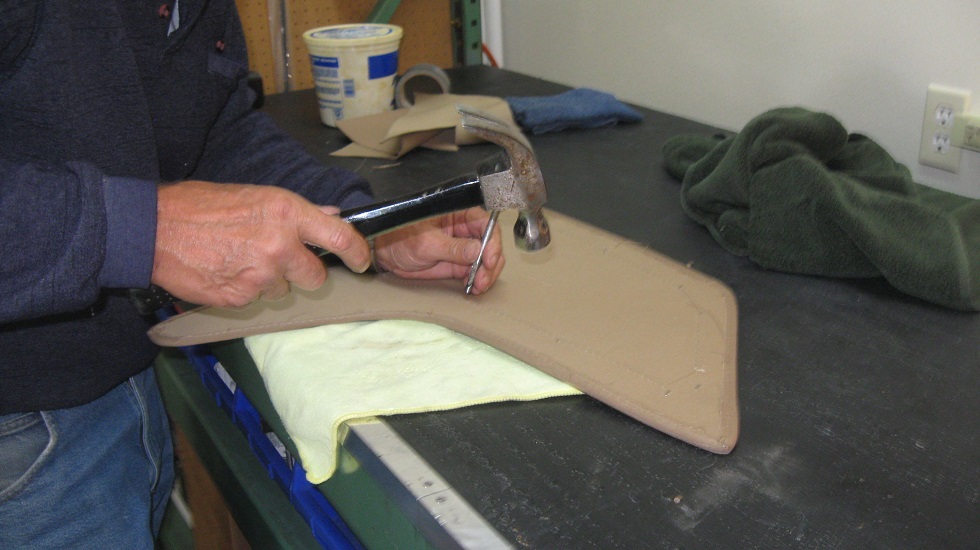
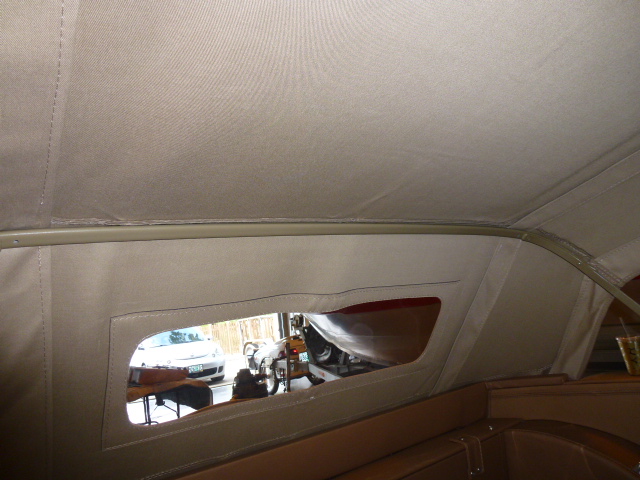
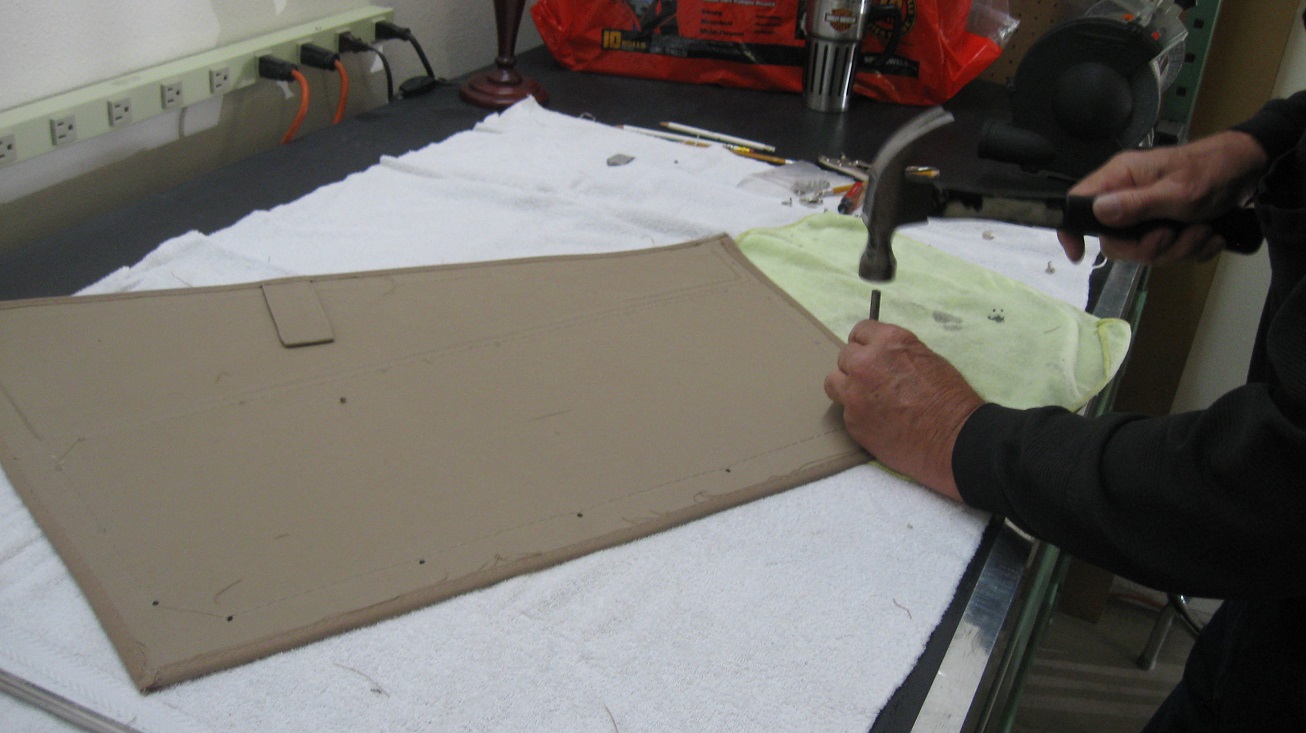
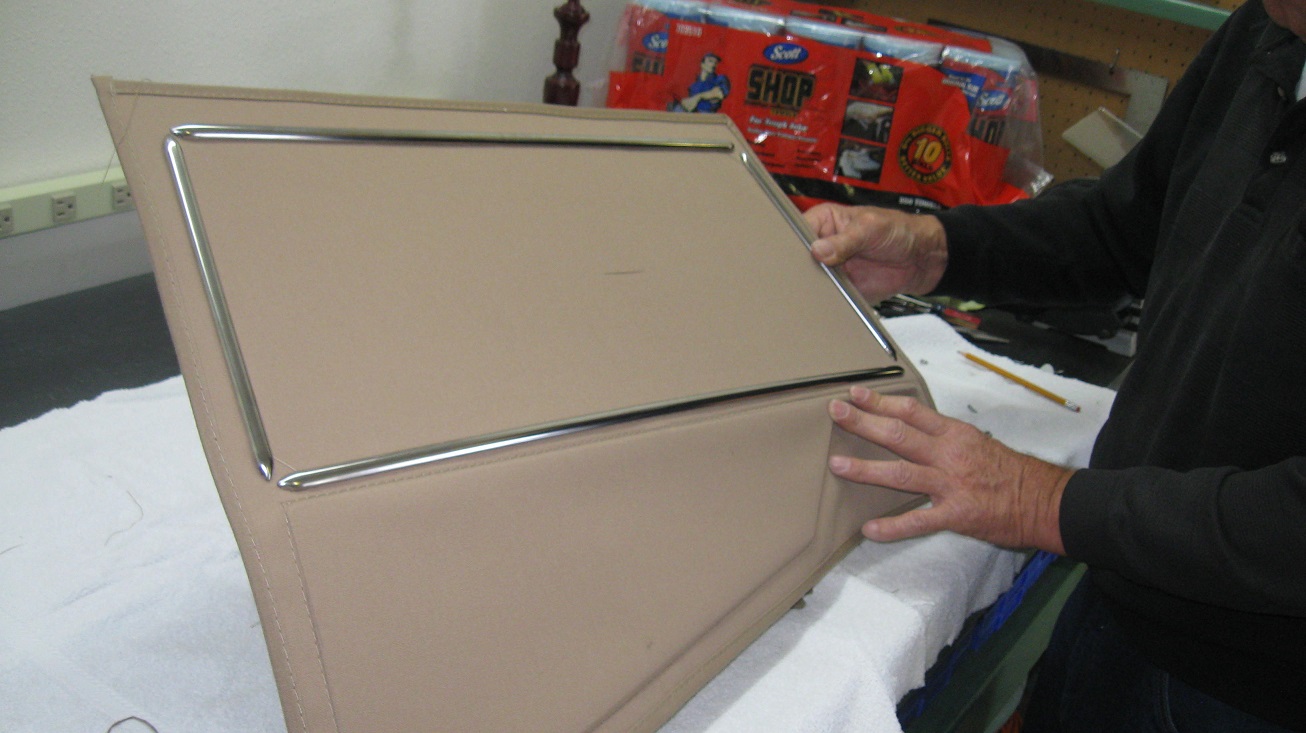
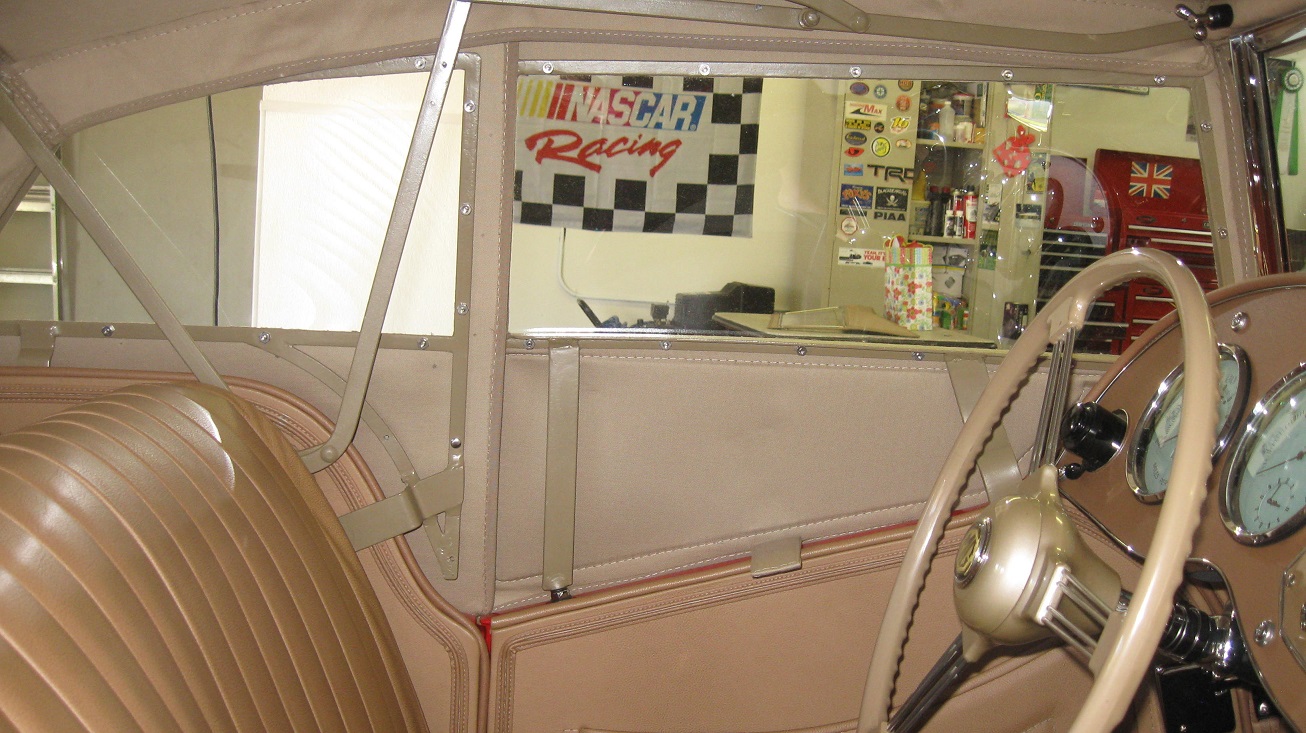
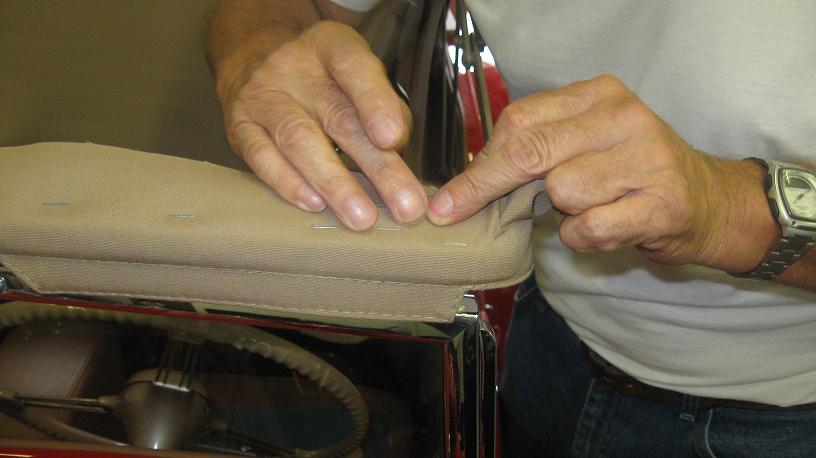
 May 8, 2013 Finally
we get to the side curtains. Because of the way Moss
stitches the frame pattern on the window you are pretty
much forced to position the frame over the stitching to
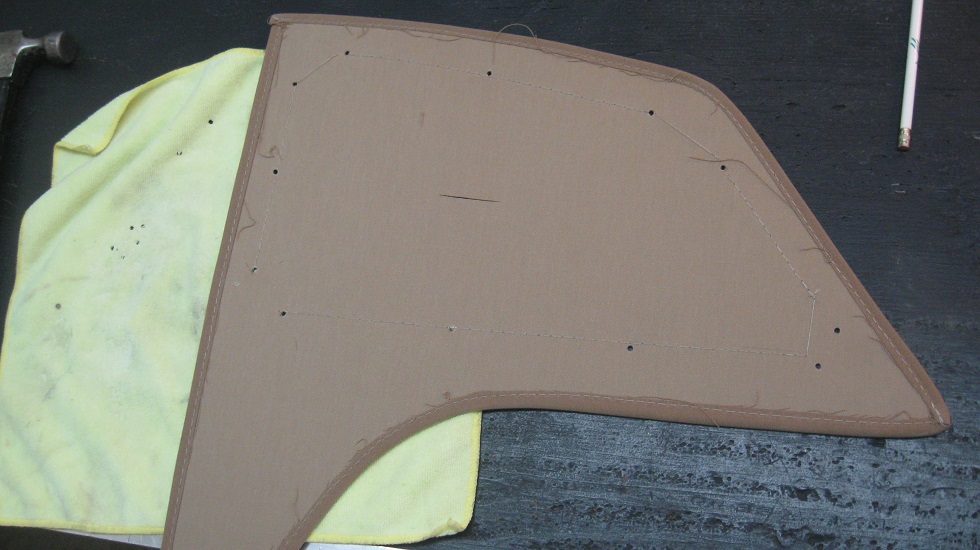
cover the stitch holes. We carefully lined up the
frame to the window stitches, and marked the holes with a
pencil. Then using a punch we punched the holes in
the window. We lined up the window chrome and marked
the inside edges so we knew about where to trim the fabric
back to expose the clear window. I forgot to take
pictures of the actual cutting of the fabric. I will
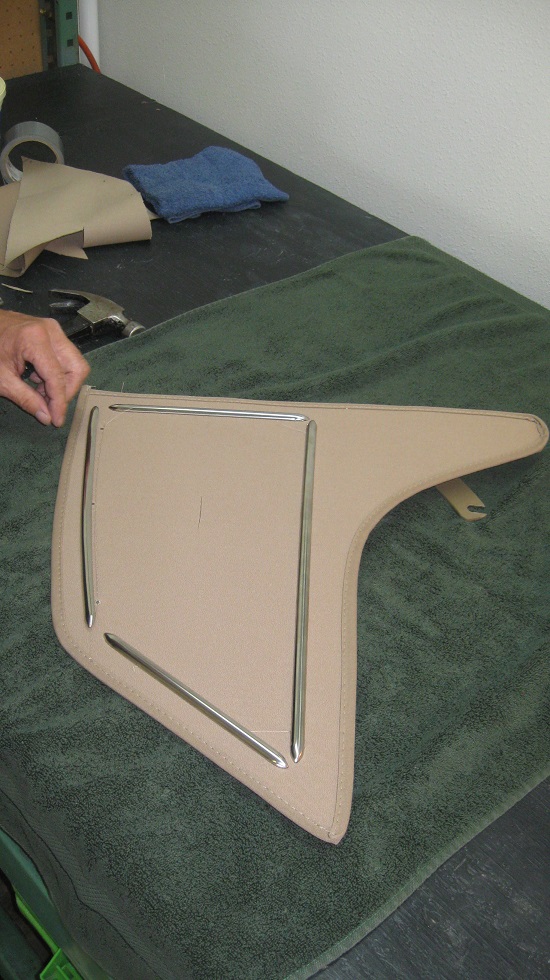
when we do the front curtains. After the fabric is
cut back we assembled the frame and chrome pieces to the
window. Some minor trimming and tweaks were required
for a nice fit. The top chrome piece needed to have
a slight bend in it for proper fit.
May 8, 2013 Finally
we get to the side curtains. Because of the way Moss
stitches the frame pattern on the window you are pretty
much forced to position the frame over the stitching to
cover the stitch holes. We carefully lined up the
frame to the window stitches, and marked the holes with a
pencil. Then using a punch we punched the holes in
the window. We lined up the window chrome and marked
the inside edges so we knew about where to trim the fabric
back to expose the clear window. I forgot to take
pictures of the actual cutting of the fabric. I will
when we do the front curtains. After the fabric is
cut back we assembled the frame and chrome pieces to the
window. Some minor trimming and tweaks were required
for a nice fit. The top chrome piece needed to have
a slight bend in it for proper fit.
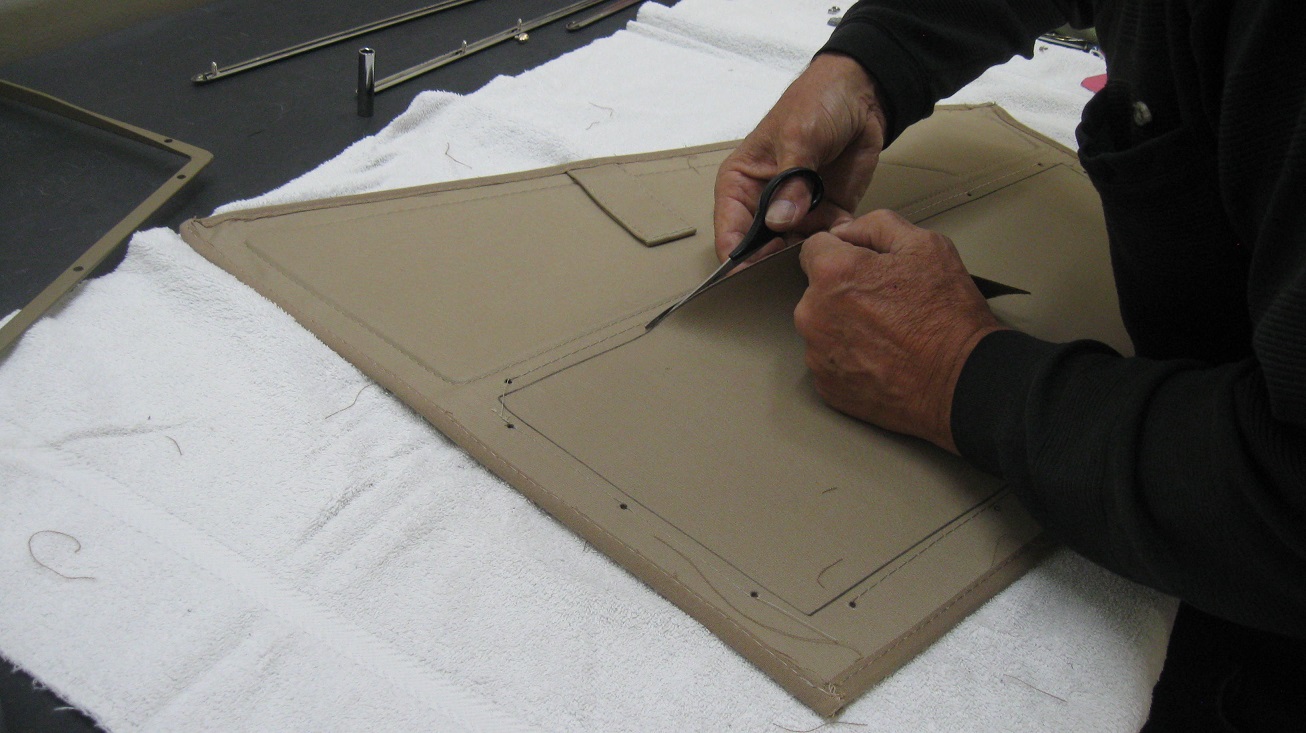
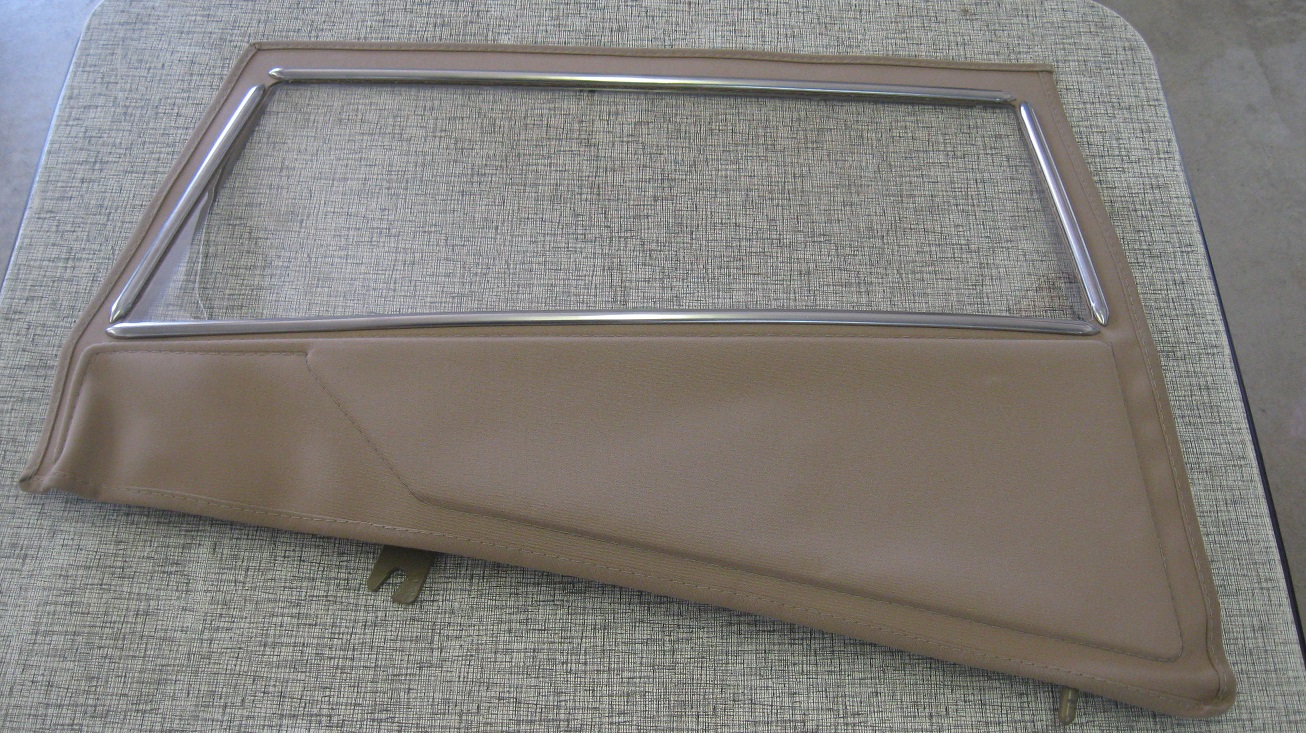
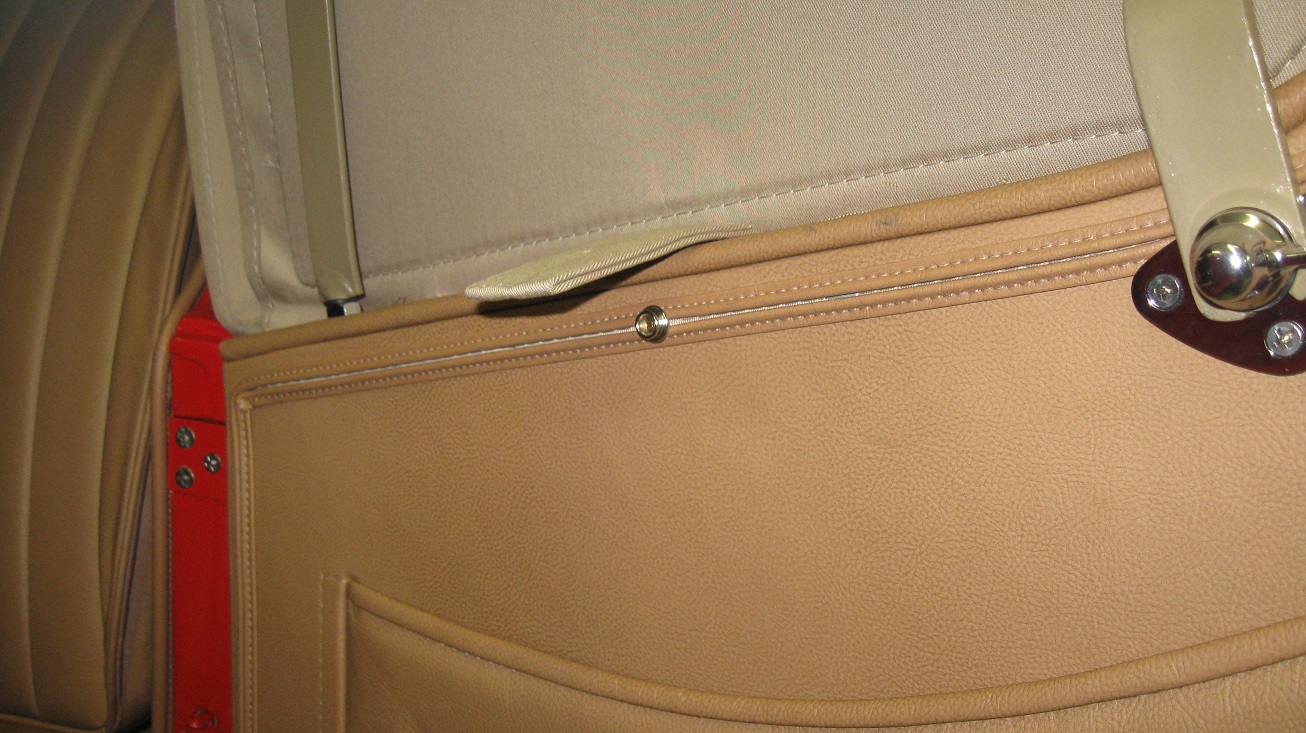
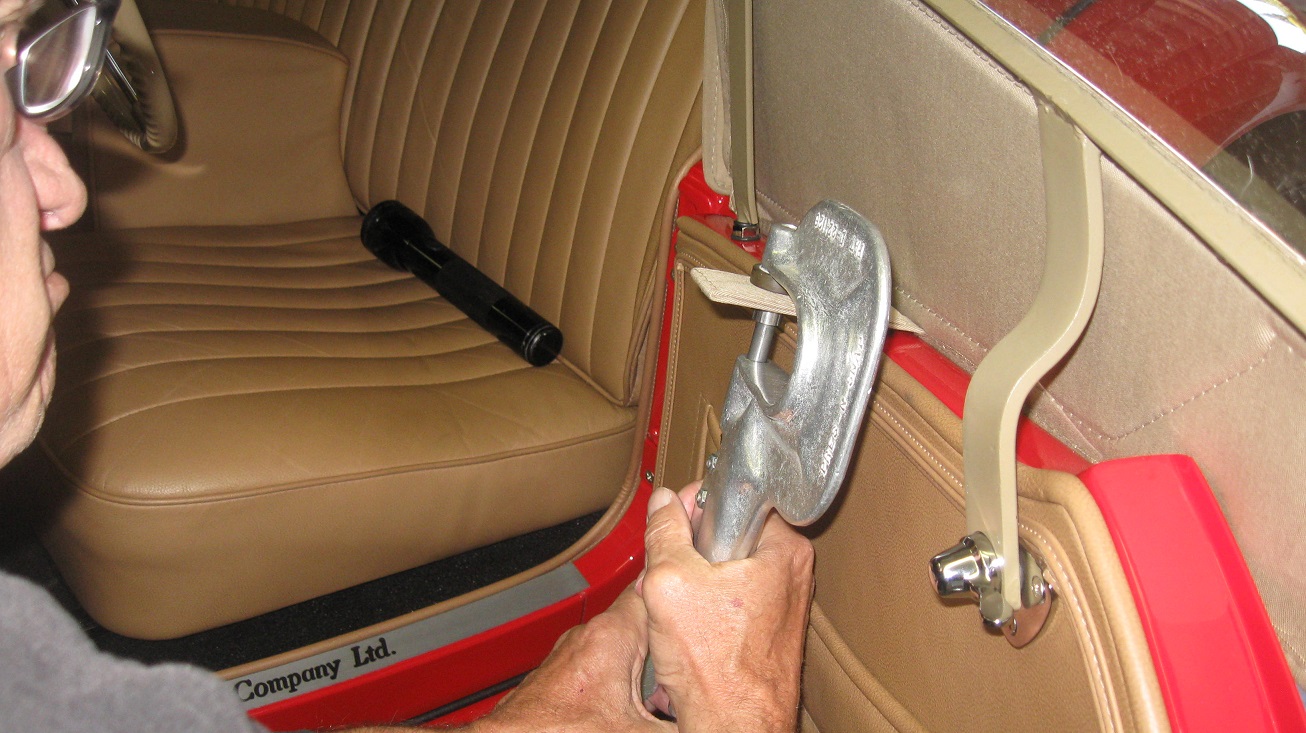
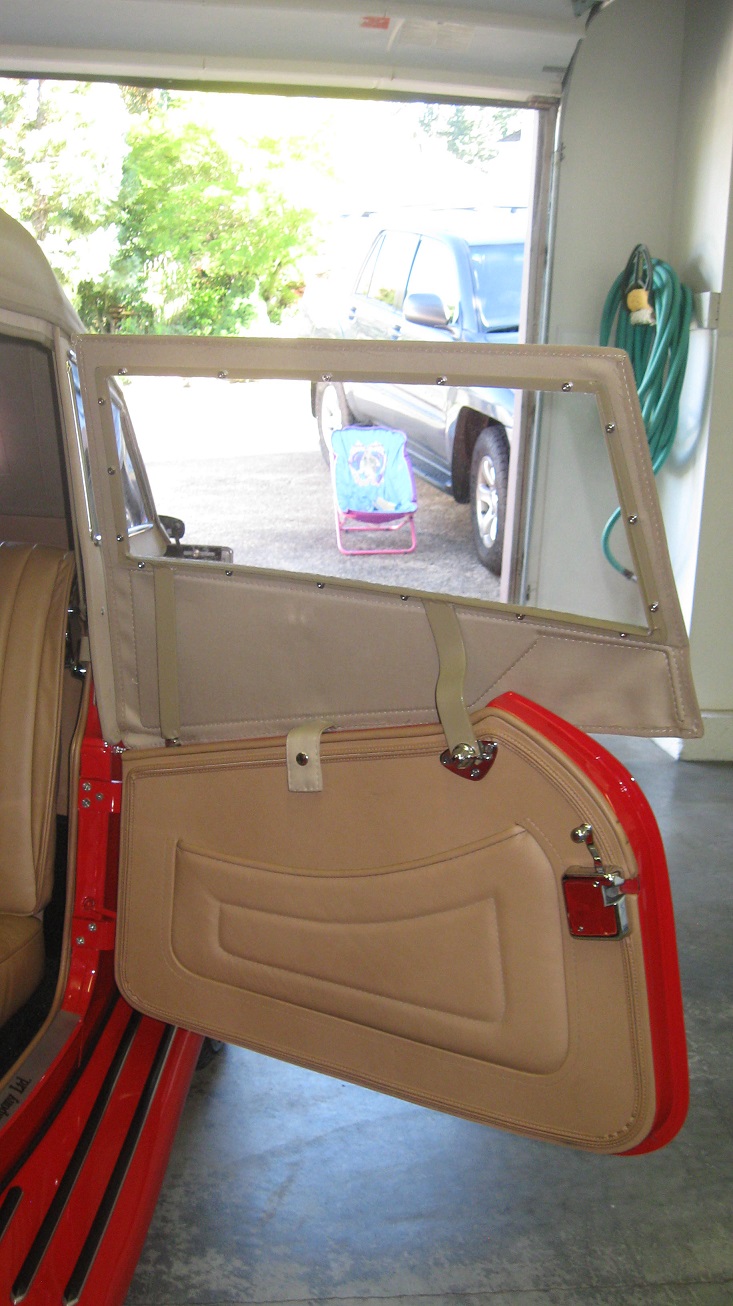
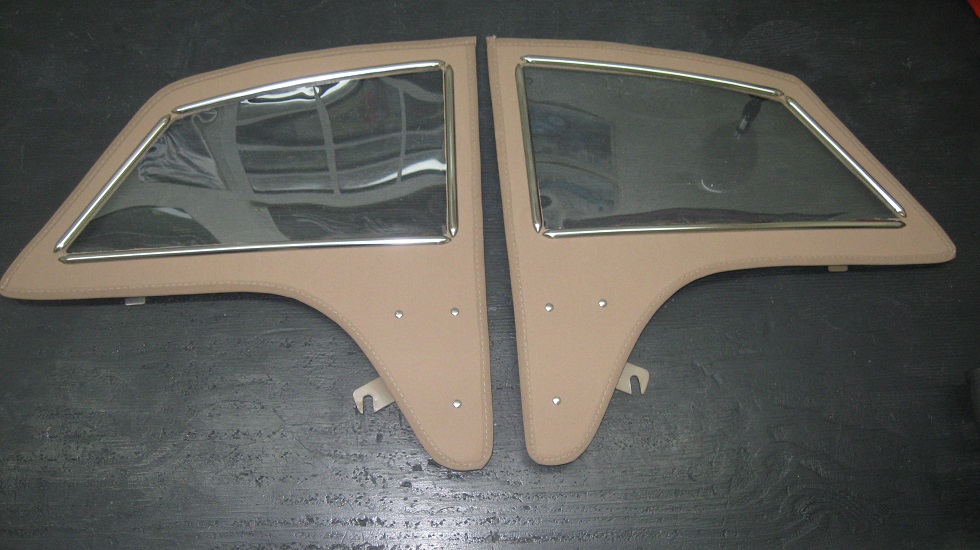
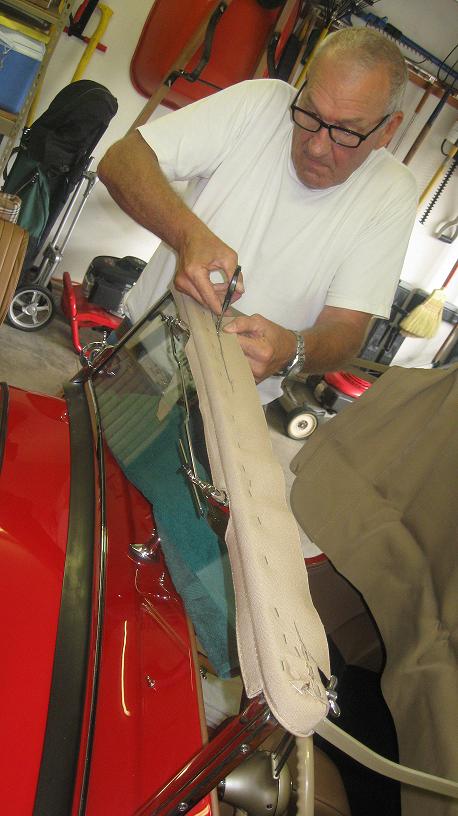
 June 6, 2013 The
front side curtains are now complete. We started by
lining up the frame with the stitching on the
curtain. Marked the holes and then punch them
out. We then assembled the frame and chrome strips
to the curtain and marked the lines where we would need to
cut out the window. Then removed the frame and
chrome strips and cut the fabric away from the clear
window. Then we fine tuned the curtain and
reassembled the frame. We fit the now complete frame
and curtain to the car and visually measured the hold down
strap to the door and installed a snap to the door.
The side curtains are now done!
June 6, 2013 The
front side curtains are now complete. We started by
lining up the frame with the stitching on the
curtain. Marked the holes and then punch them
out. We then assembled the frame and chrome strips
to the curtain and marked the lines where we would need to
cut out the window. Then removed the frame and
chrome strips and cut the fabric away from the clear
window. Then we fine tuned the curtain and
reassembled the frame. We fit the now complete frame
and curtain to the car and visually measured the hold down
strap to the door and installed a snap to the door.
The side curtains are now done!
Page created by Rich King


